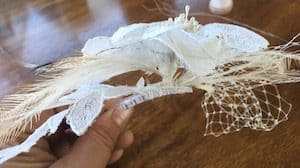
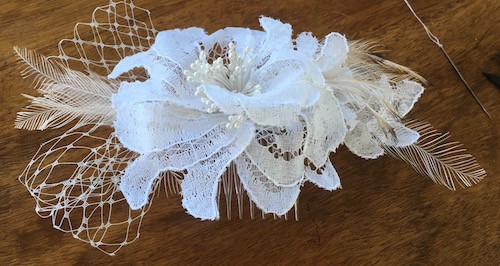
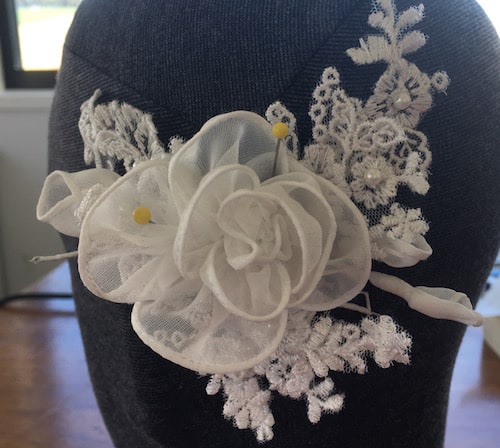
An overblown rose made from wired sections of lace taken from the brides mothers wedding dress. The stamens are vintage pearl, the feathers are the palest emu in my collection with their darker tips trimmed off.
An overblown rose made from wired sections of lace taken from the brides mothers wedding dress. The stamens are vintage pearl, the feathers are the palest emu in my collection with their darker tips trimmed off.
The decision to enter the Foundations revealed competition was a big one. Although I am an experienced dressmaker I am still new to corsetry. Here was an opportunity to test myself but could I really cut it against the talented makers who’s work I admired last year?
As is my usual approach to any project I had miltiple ideas swimming around at once. The strongest developed from a photo of an edwardian lady who was very helpfully posed in front of a mirror. I could see all of her corset in the one image. I was struck by the fact I could see the wings of insects already there in the panels. Being new to corsetry I am still exploring the possibilities of the materials, especially the spiral steel boning. I was surprised how flexible it was when I first started to use it. I wondered if I could bend it around lateral curves as part of my design.
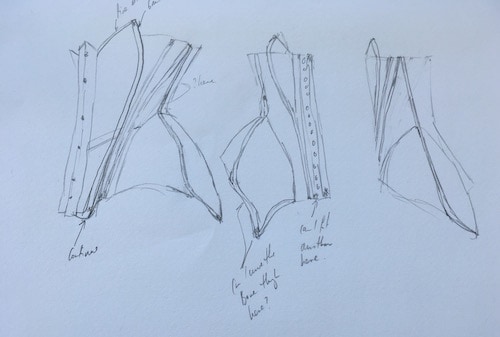
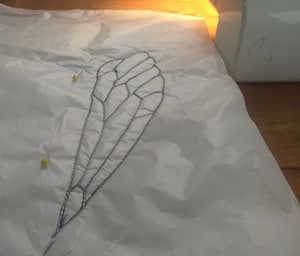
The photo below shows one of my latest sketches before I started the pattern.
The pattern began its life as a mould in cling film and masking tape wrapped around my sister. This gave me an exact shape of her body and allowed me to cut the panels where I wanted to. I had in the past made a basic underbust from this pattern so I knew it worked and could be adapted for the wings corset.
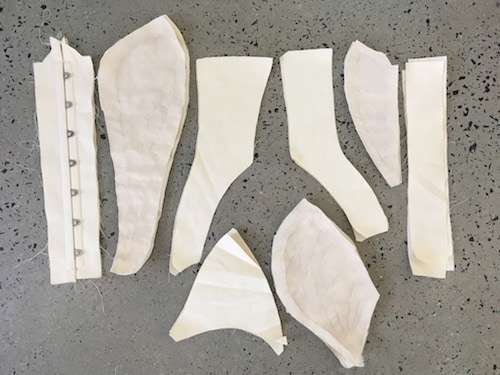
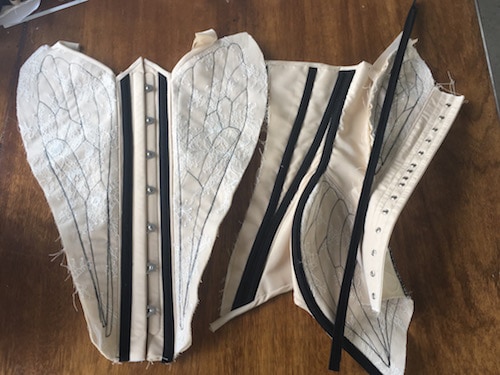
The first toile I started made it clear that this idea was going to be more difficult than I had expected. I needed to work out construction methods as I went and the order they needed to be done in was not the usual order for corset construction. The second toile was easier and i used it to finalise boning placement, and the third I finally sorted out the more difficult boning channel construction. A close to final pattern is show below.
My original plan had sheer panels for the 6 pieces which would be wings and I stalled late in the process because of these. Getting the vein embroidery right and making sure the material could handle the stress were questions I didnt want to find the answer to when lacing the finished corset up.
When I joined Foundations revealed I found not only resources for the kinds of complex corsetry not seen anywhere else but an amazing sense of community and encouragement. It reminded me that my idea was good and that finishing it is important even if it isn’t perfect. I left the sheer fabric behind and instead focused on the construction and was freed from the worry that had stopped my work.
The corset is made of a strength layer of dense herringbone canvas and an outer layer of a pink/beige fabric Ihave no idea the composition of. The wing panels have a layer of cream Chantilly lace to give them some lightness . The boning channels are made from black coutil.
I stuck with the line drawings of the wings as I had planned them for the sheer panels and applied them to the solid fabric. I drew them on kitchen paper and using a continuous line sewed the pattern on the machine in black thread. Embarrassingly I have to admit that one of the jobs I most enjoyed was tweezing the tiny shreds of paper out from between the stitches, it was so satisfying.
The corset still has been hard work but it has been invigorating and inspiring. The steps to put the corset together have been deceptively complicated. Usually bones are added late and edgings are done last but for this design I needed to complete whole sections including boning before I could join it to other sections.
The curved boning channels were cut on the bias and they were hand tacked down both edges before very careful and slow sewing. Below is the corset in construction.
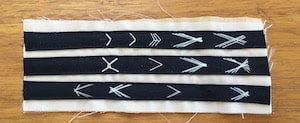
I had always assumed I would floss the corset but when it came time to I wasnt sure how to apporach it. In the end Imade a sample. My concern that the flossing might clutter up an already conplex design waw unfounded. I decided on a small double cross in contrast cotton. I like to use a fine crochet thread for flossing, they are impossible to break.
When all the sewing was completed I arranged a fitting and there were some alterations that were needed. I knew the hip curve might be an issue but I had hoped to be able to pad my model instead of unpicking my corset. Unfortunately it had to be done and I reminded myself that knowing when to undo your work is perhaps one of the most important skills a creative person learns. (amazing article on how the Edwardians created their shape with padding so it is totally a legit cheat!)
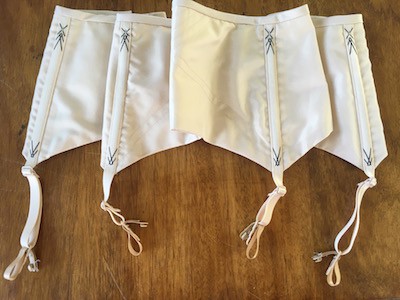
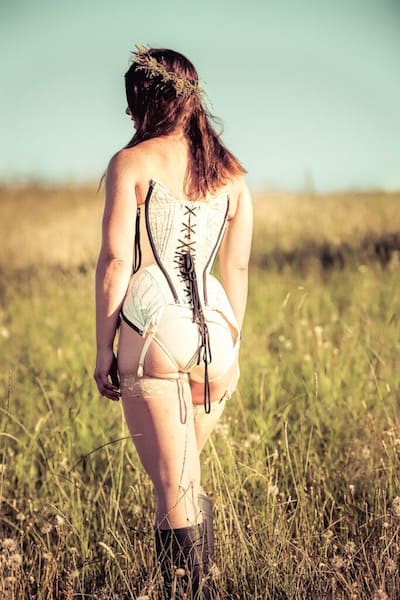
To add some more detail I made a pair of matching suspenders and added a pair of clips to the corset front. Sadly stockings proved difficult to source ( unless Iwanted black or ghastly red ). Although the lace tops look lovely they slightly offend my sense of functionality as the stay ups technically render the clips pointless.
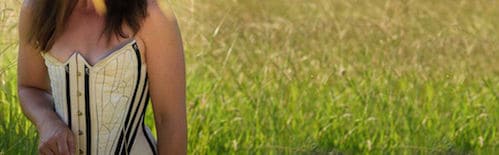
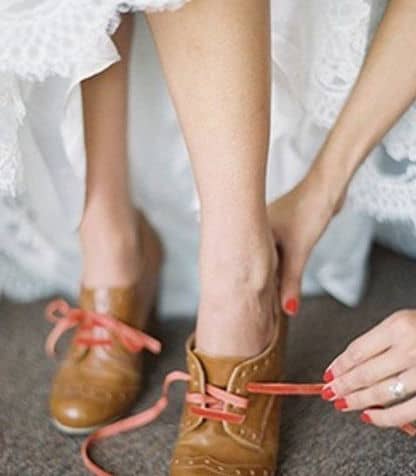
Something this special I decided was worth the investment of a professional photographer. I used a local photographer SK Photography The location is actually where I live in regional NSW. My husband was very happy when I asked him to stop mowing for a little while. Flies are a constand plauge here and I am a little bit sorry I didnt choose the fly as my insect inspiration, my model would have been covered in them. The whole photo shoot went beautifully and I am pleased to have hired a professional for the job. The photos look amazing. I partictularly like the way the gumboots finish off the look ( summer in Australia = snakes)
By the end of it all my fingers look like ballerinas toes and I never want to change the thread colour on my sewing machine ever again. That aside, I am thrilled with the result and cant wait to hear the theme for next year.
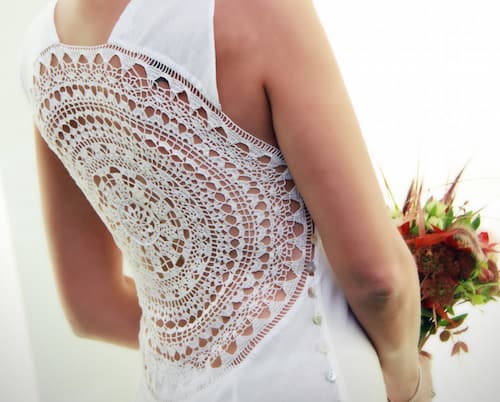
This dress is a few years old now and I have just realised it wasn’t yet posted. It is made from bias cut cotton voile and had a crochet back. The side closes with embroidered loops and mother of pearl buttons. It would need a lovely backless lining to be work anywhere other than the catwalk.
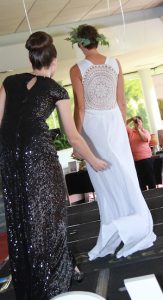
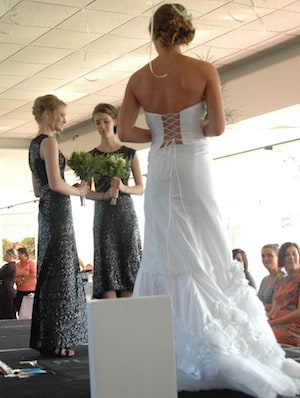
This bride was incredibly lucky, the sales assistant where she purchased her dress gave her some scraps of lace when she collected her dress. As she came to me to make her dress smaller and not larger the lace wasn’t needed for on the dress.
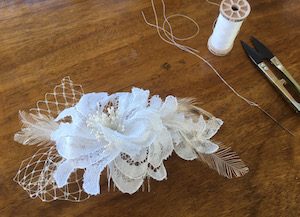
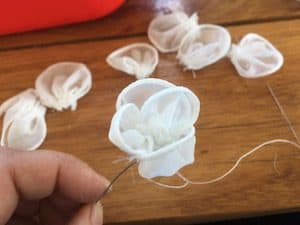
Along with the leftover lace and a scrap of chiffon trimmed from her hem I made this lovely hairpiece.
Below images show chiffon petals being sewn into a rose and wired lace wrapped in white florists tape waiting to be combined.
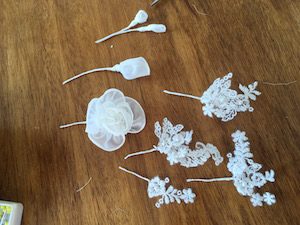
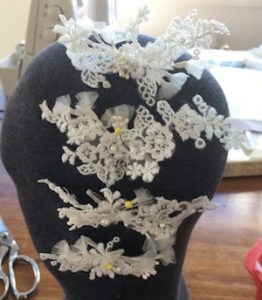
The addition of 4 little comb for flower girls came later when I realised there would be more lace than needed. These also included some blossoms made from the mesh between the lace and some vintage pearl stamens.
After years of making boned dresses I finally had an opportunity to try my hand at the more technical world of corsetry. (Secretly I was always looking for an excuse)
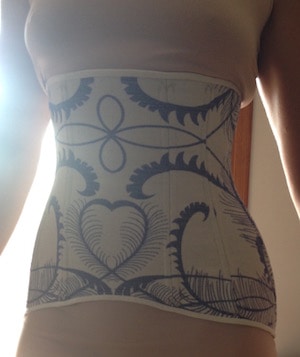
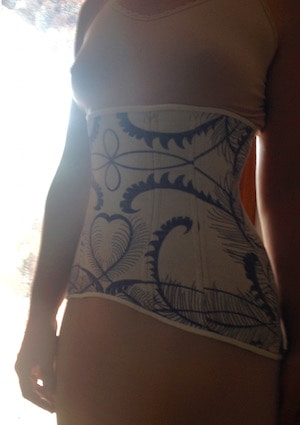
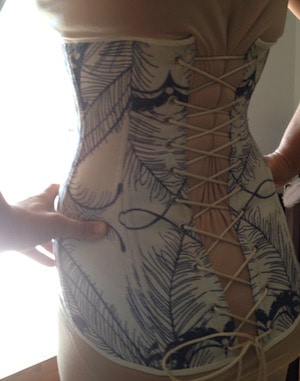
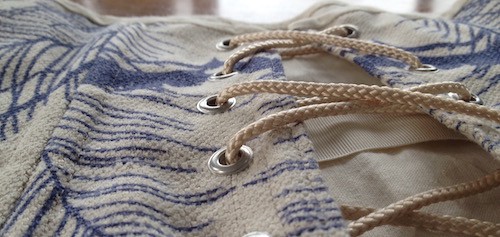
This corset was made with 2 pieces of plastic boning per seam. The pattern doesn’t allow for a strong cinch at the waist so steel would have been wasted. The fabric is a print by Catherine Martin, with its reference to Lyrebird tail feathers I had to have it even though I had no idea how I was going to match the print at the seams. The binding, flossing and lacing offer a little contrast but are still tonal with the main print fabric.
An enormous thank you to Meg on who these patterns are based. For all your patience from the first draft to the final posing.
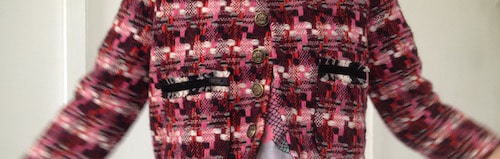
In a stash from my Aunty came a lovely little piece of woven wool. I knew i wanted to make a little jacket as soon as I saw it. The jacket is trimmed with velvet ribbon and freed fringe cut from the jacket fabric. Lined in black satin with ‘brass’ buttons.
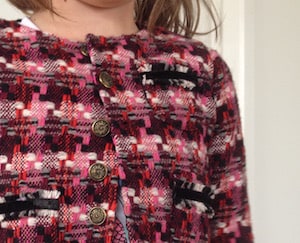
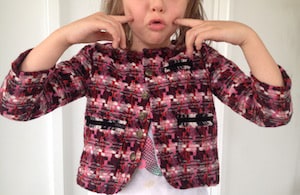
I should really call it Ivy’s first 80’s Chanel jacket.
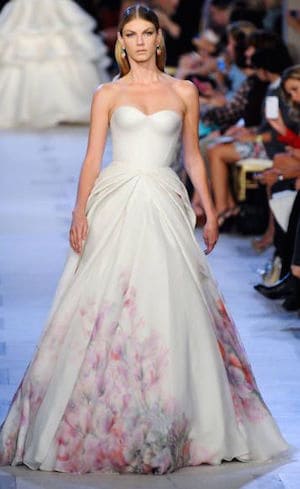
Floral dress is Zac posen – on runway
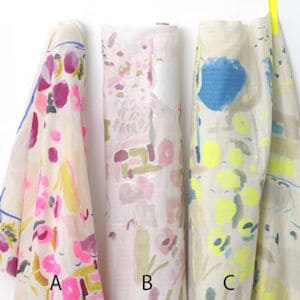
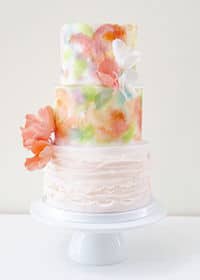
For the bridesmaidsLovely watercolour look fabrics from talented Japanese designer Nani Iro
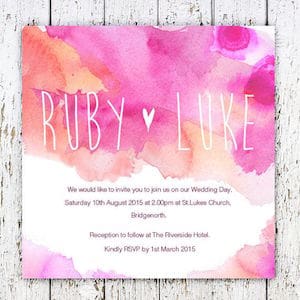
Try Etsy for invitation designers using…..
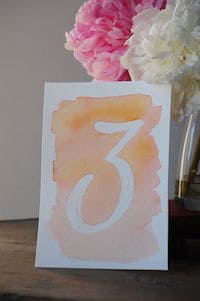
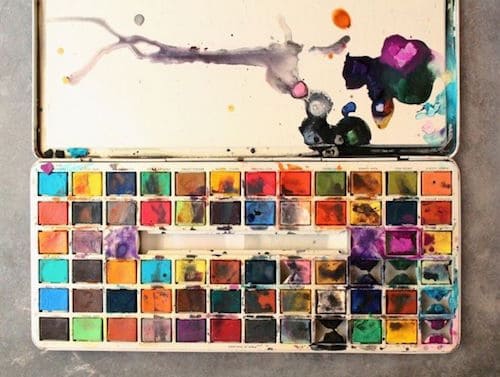
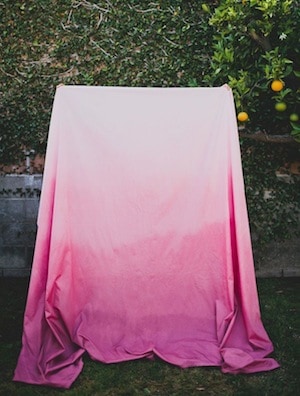
Here is a simple tutorial for making watercolour table numbers, the technique could be applied to any of your wedding stationary. The lovely textured paper is essential and it should be available at any art supplier along with the latex masking agent used.
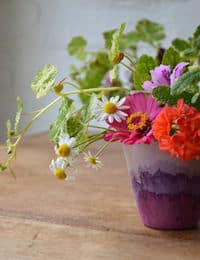
Here some lovely watercolour dipped paper cups used for holding lovely little floral arrangements.
Some times I get to do projects that are really fun.
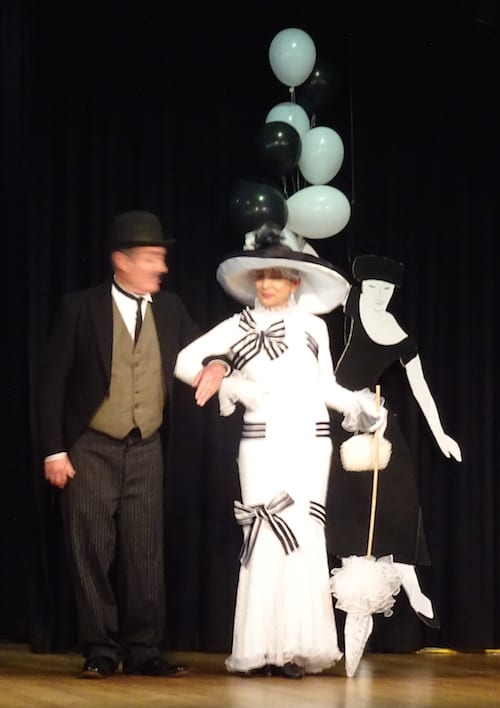
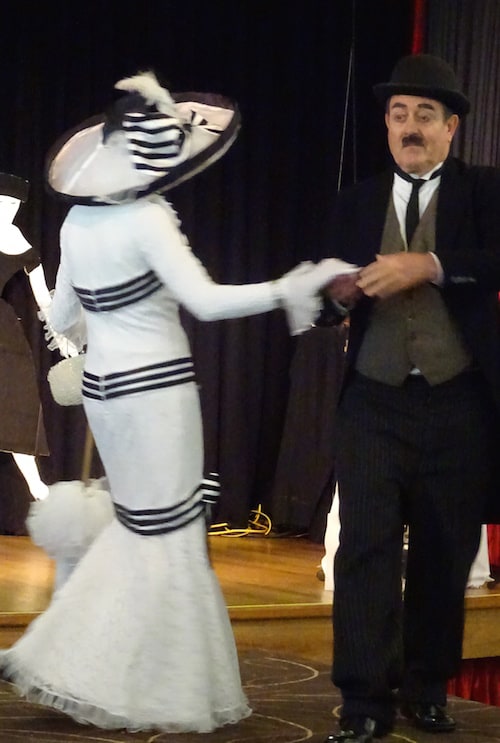
For a black and white themed party dedicated to Audrey Hepburn there really was no other dress to make.
Because this is a costume I cleated a little. The lace and lining is a stretch fabric. This makes the pattern making and fitting easier. The black and white ribbon were made from strips of satin.
The hat was more troublesome and it isn’t sitting quite as angled as it should, This was a small concession to the neck of the wearer. A base was made of Buckram and then covered in black and white satin.
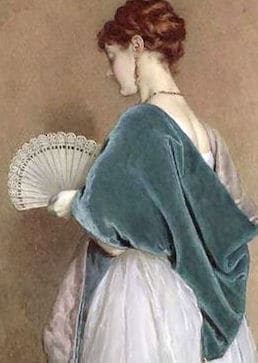
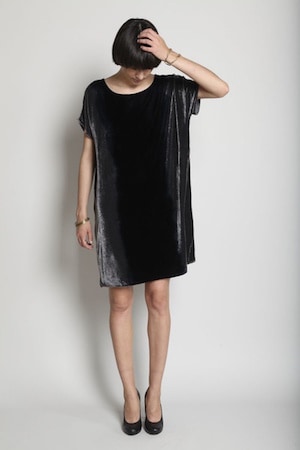
I spent a little time looking for wedding dresses in velvet, It could have been the pictures or the fact most were from the 20’s or 30’s but I couldn’t find anything mind blowing. I will have to have a look at some white or ivory velvet the next time I am in a fabric shop and see how it behaves.
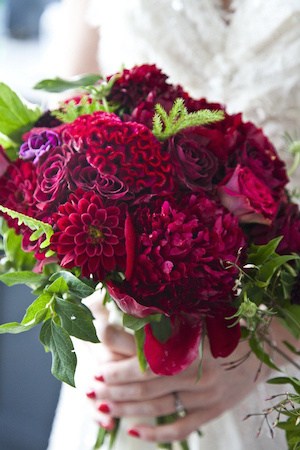
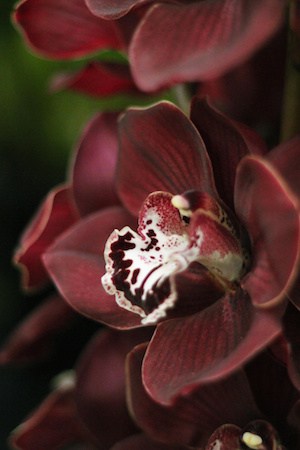
Velvet is amazing in rich colours and I have complied below a selection of ideas.
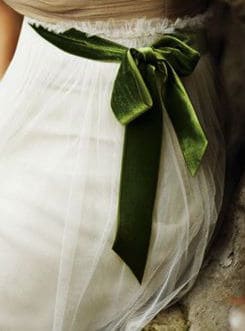
A subtle detail
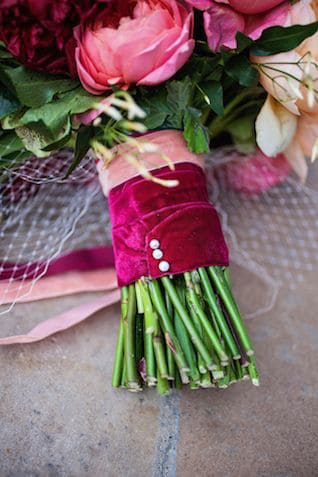
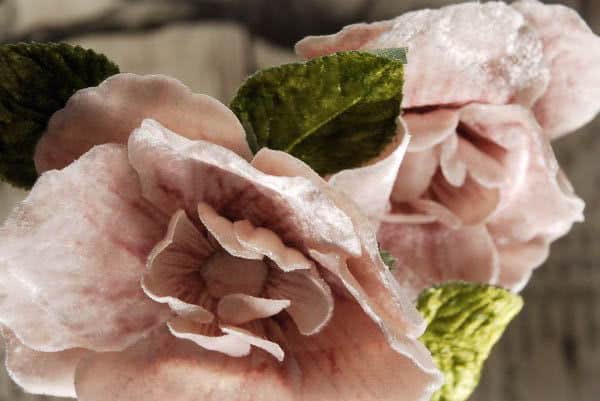
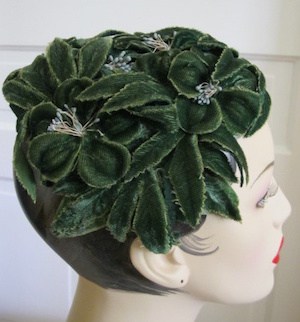
Flowers with the look of velvet
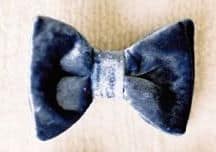
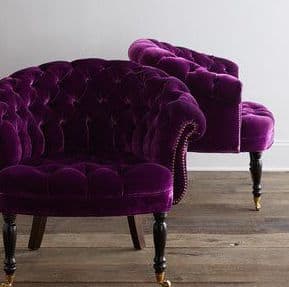
A touch of Vintage
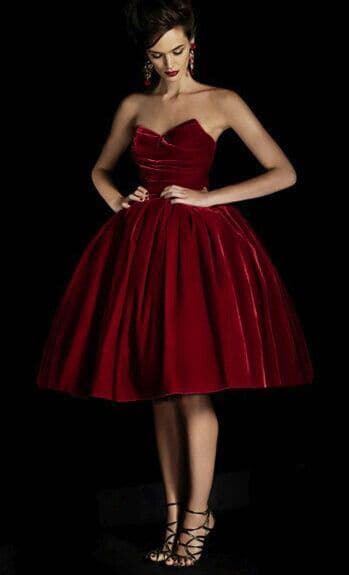
Chic bridesmaids
For the first time in a long time I am back adding to my blog. I did just have a baby and move house and I am sticking to that excuse.
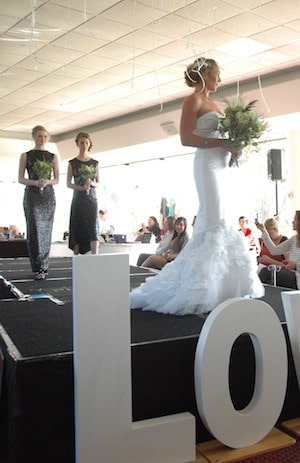
I have a few more dresses from the Weddings coast style 2015 which I haven’t added and I am going to put that to right straight away.
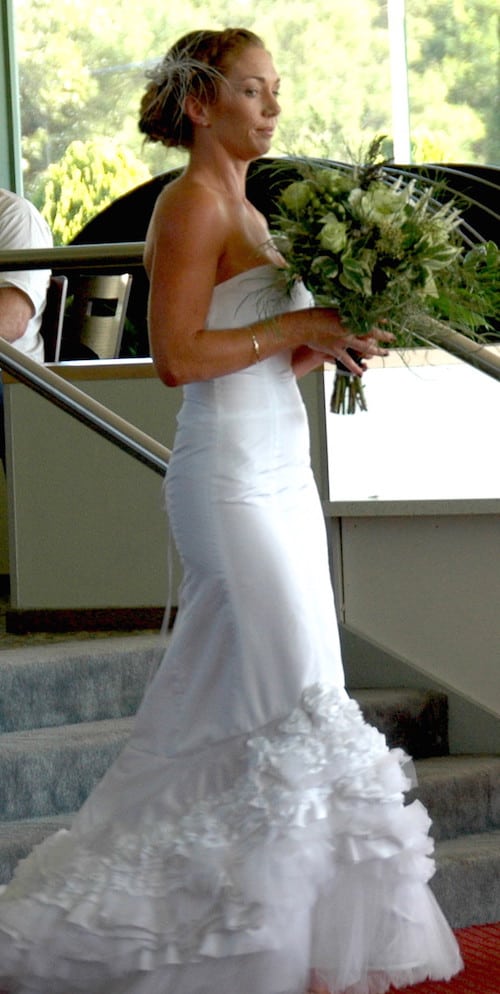
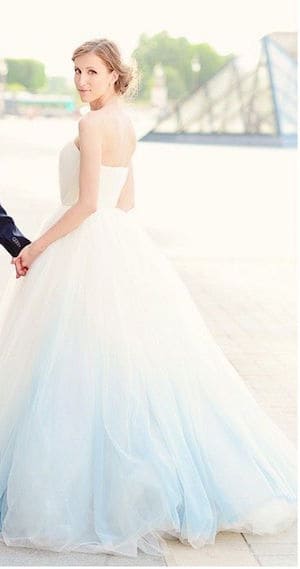
This dress was a chance for me to experiment. I planned the shape and knew I wanted ruffles at the hem but had no set idea about how I wanted to do them. This gave me a chance to do a lot of experiments. In the end a mix of tulle and taffeta frills and rosettes was the winner.