Here is a selection of the sewing work I did for the 150th anniversary of Candelo School. It was a while ago now so I won’t write on and on about it – just photos.
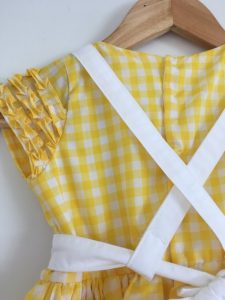
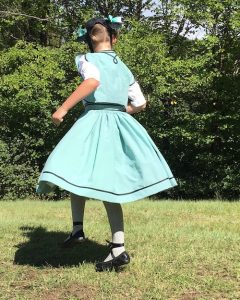
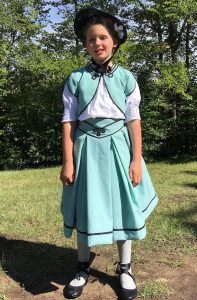
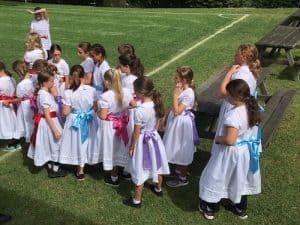
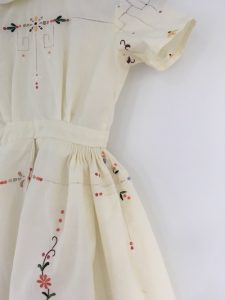
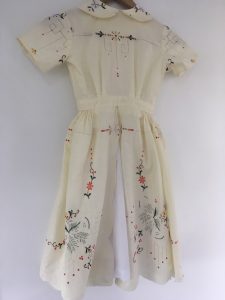
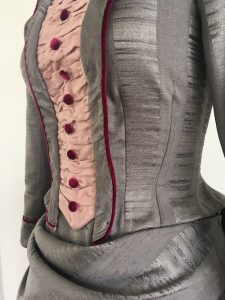
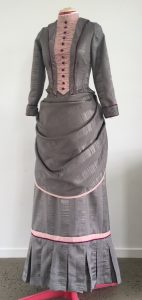
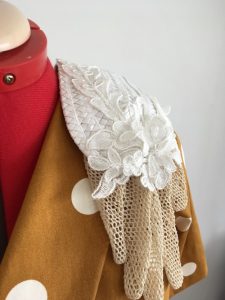
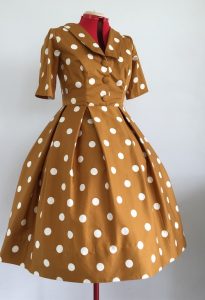
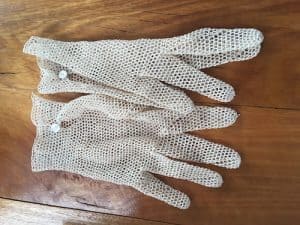
Here is a selection of the sewing work I did for the 150th anniversary of Candelo School. It was a while ago now so I won’t write on and on about it – just photos.


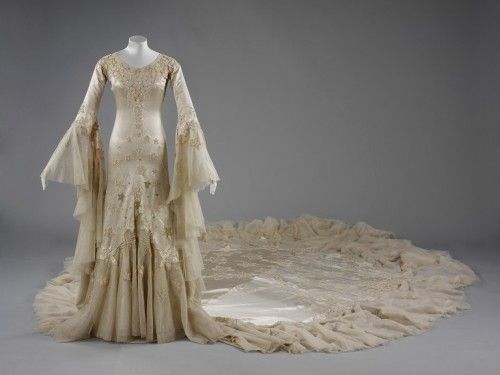
I found this image from a vintage pattern (I am assuming 30’s-40’s ish) and I thought it was a lovely idea.
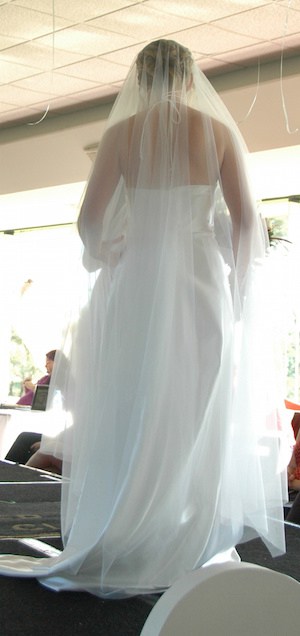
A veil is joined into the waist and can sit over the head as a veil or down the skirt as a bustle.
The Image shows the veil ending at about her wrists but I would guess it would be possible to make it longer, this might just mean that the back of the skirt might need to be lengthened so the veil won’t drag on the floor.
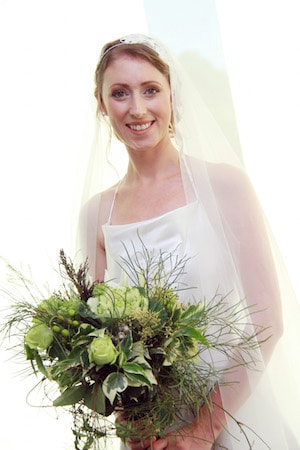
I really wanted to show off the details of this veil. It was a bit of an experiment using the crochet detail but it all ended up looking so wonderful with the dress (and my lovely model) I am really proud of it.
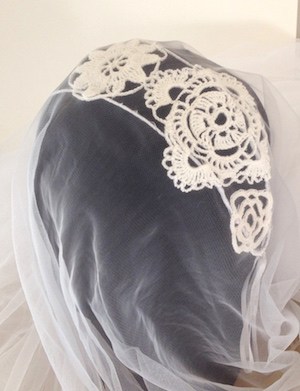
Here is the crochet detail on the wire base. The tulle was sewn along the base to keep it against the head in the Juliet cap style worn in the 30’s.
The tulle I used is a soft bridal tulle. It falls more like silk tulle than nylon tulle. It was perfect for this look.
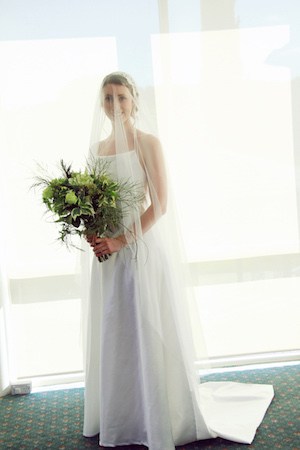
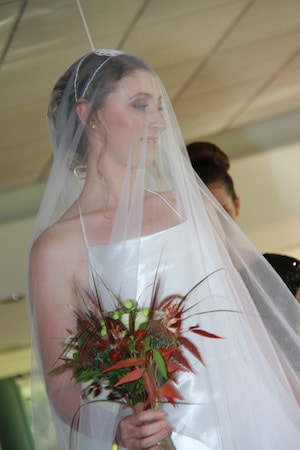
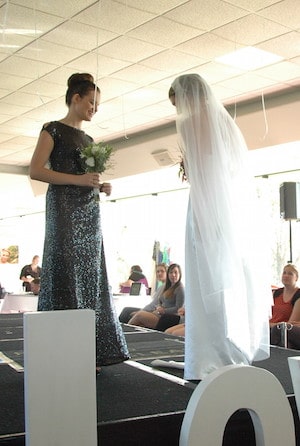
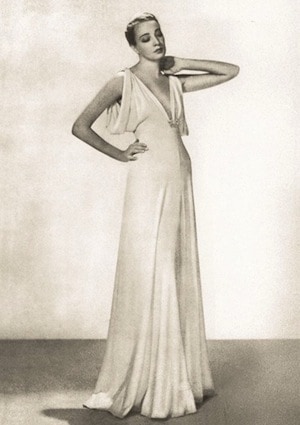
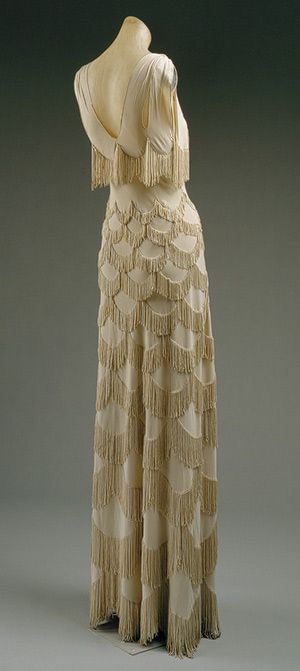
The 30’s are considered to be a more austere period in fashion, certainly more than the 20’s that preceded it. If you have ever studied patternmaking you would know this couldnt be further from the truth. The bias cut made famous at the time not only uses a lot more fabric and is technically challenging.
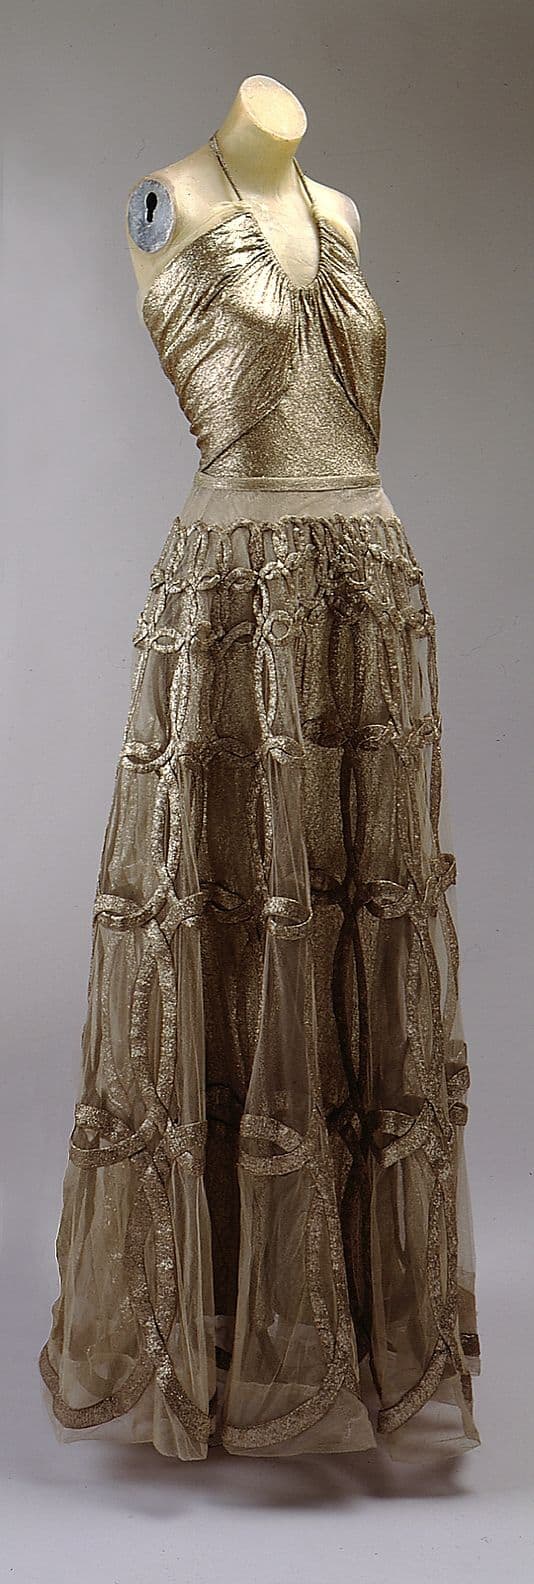
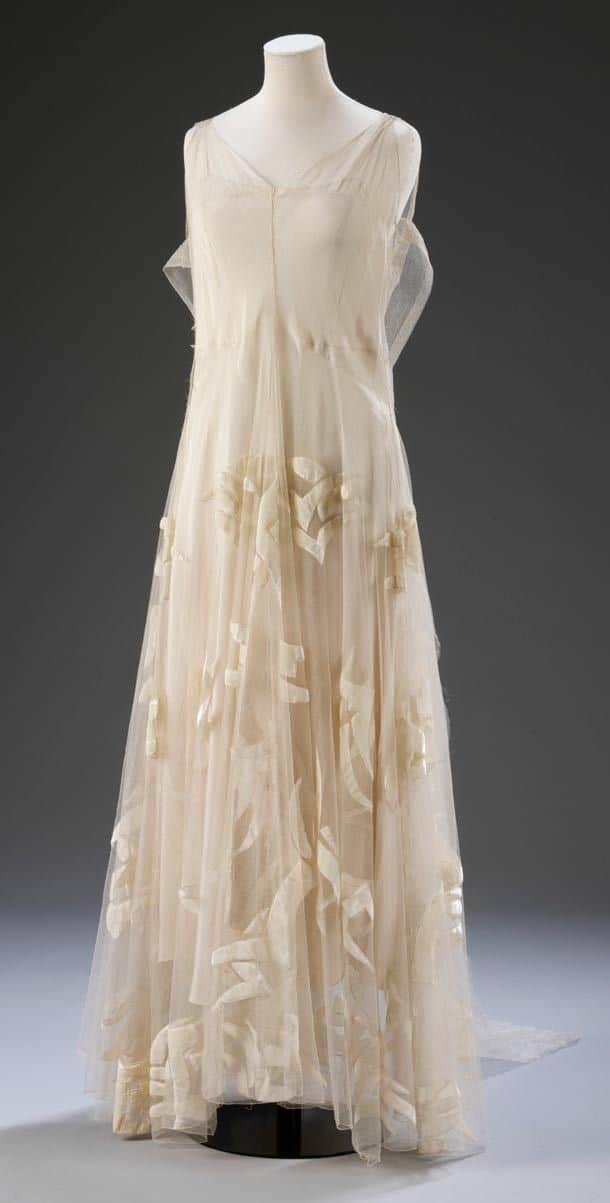
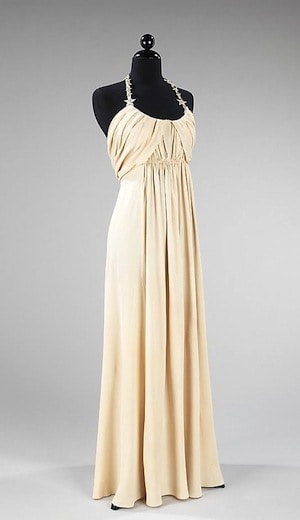
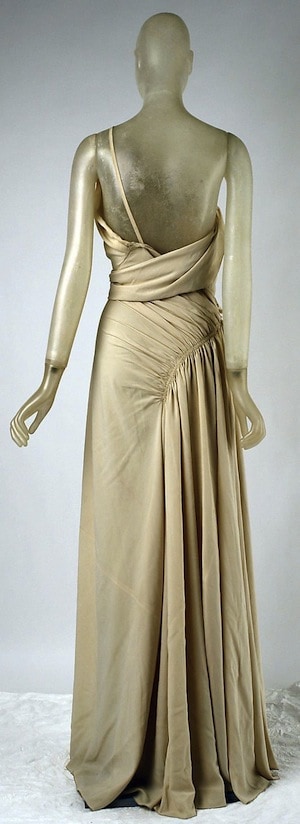
There is one designer who revolutionised the bias cut. Not just with styling but with the technique. Madeleine Vionnet is one of my favourite designers, the more i see of her work the more I love it.
The shapes she inspires are ideal for weddings, vintage and modern at the same time.
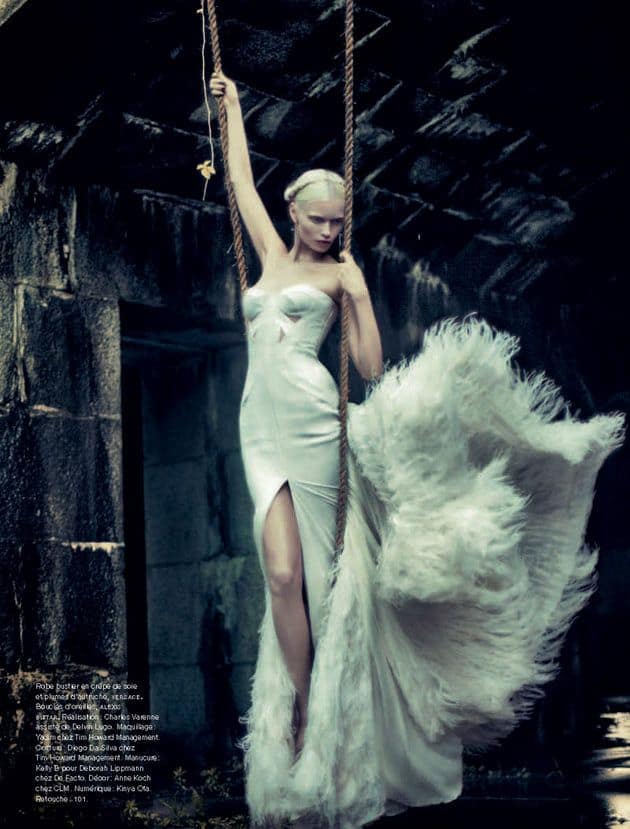
Feathers are amazing structures and its no wonder they have been used in fashion since as long as people have been adorning themselves. There are a large number of feather types commonly used in fashion and even more ways to use them. In this post I am going to look at Ostrich. A versatile feather as it can be used as a whole feather or pulled apart.
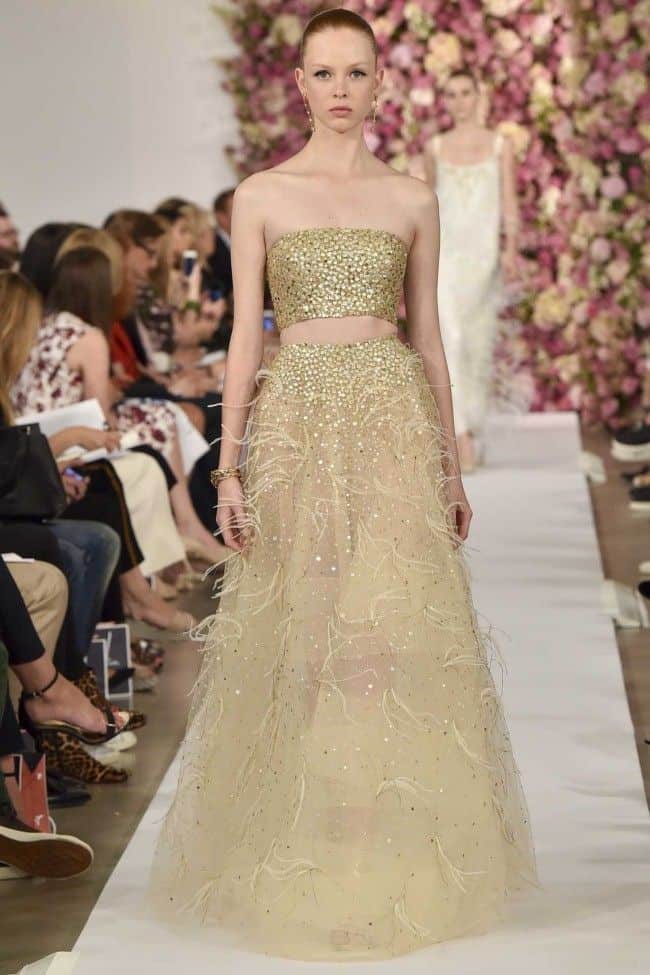
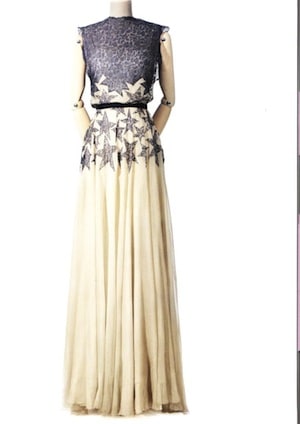
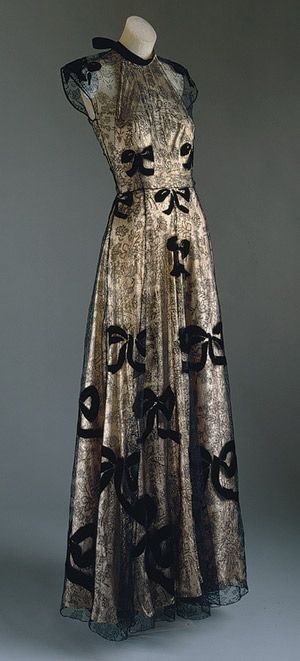
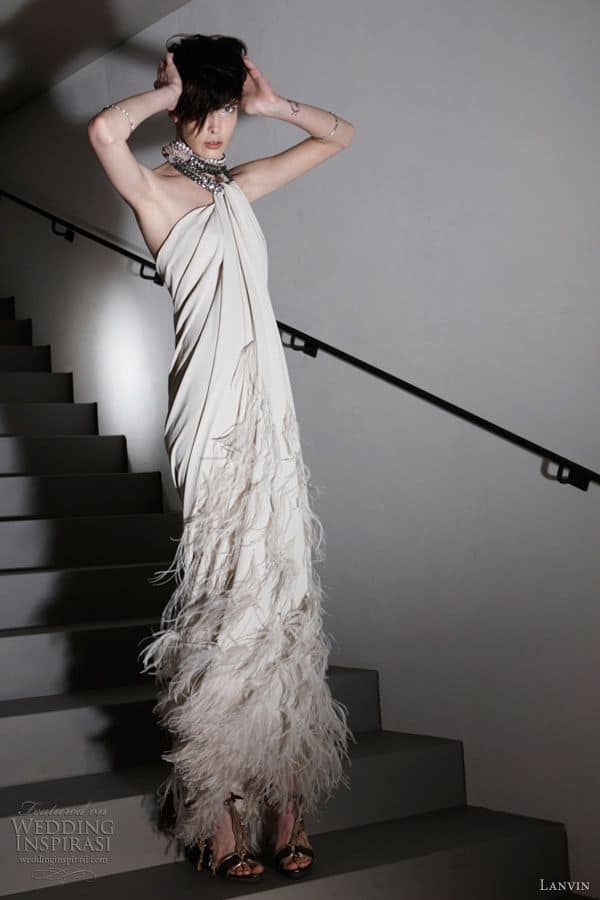
This dress is probably the most simple way to use feathers, a light scattering of ostrich wisps applied to lace. When feathers are added to light fabrics they are usually stitched which can be time consuming so to keep the numbers down can save time and effort. These feathers have been dyed to match the dress colour. Dying feathers is actually quite easy.
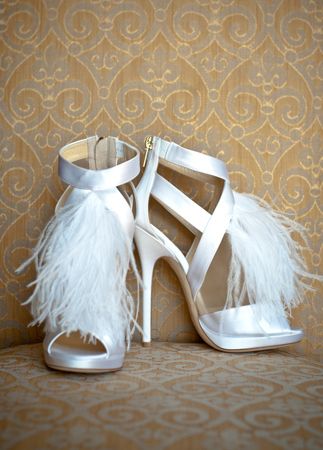
Shoes by Jimmy Choo, well outside of my budget but I wonder if some glue and feathers could make a more simple pair of heels this incredible?
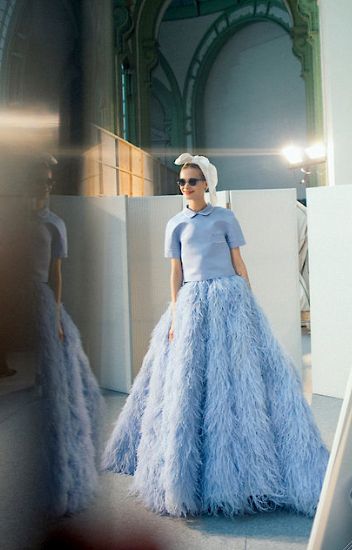
I am sure this couture feather skirt by Giambattista Valli was hand sewn individual tufts of feathers. It is possible to cheat a little as feathers are available already strung like a fringe. These fringes would then be applied to the skirt.
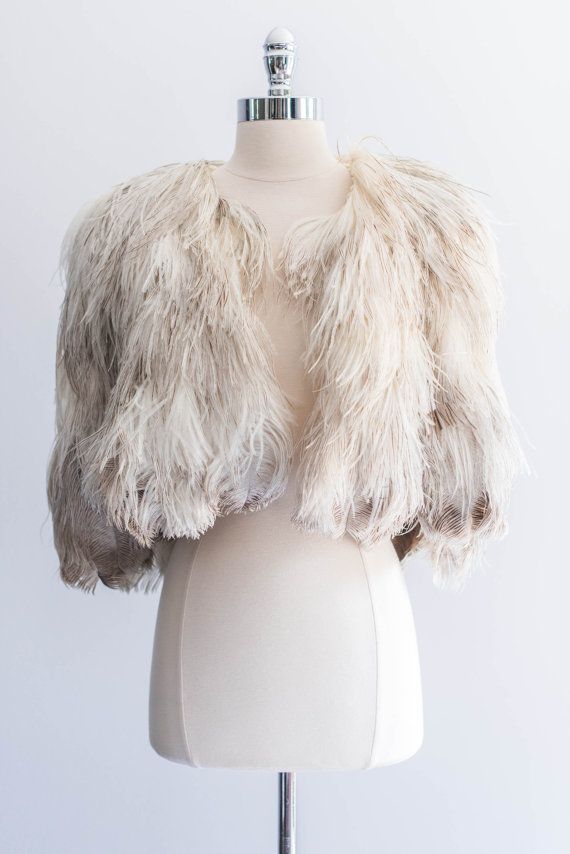
Vintage feather cape.
This vintage cape is using Ostrich feathers in their natural untreated colour. These feathers are likely applied by splitting the main quill and sewing down each half.
Here are some feathers looking lovely for your enjoyment.
little star……..
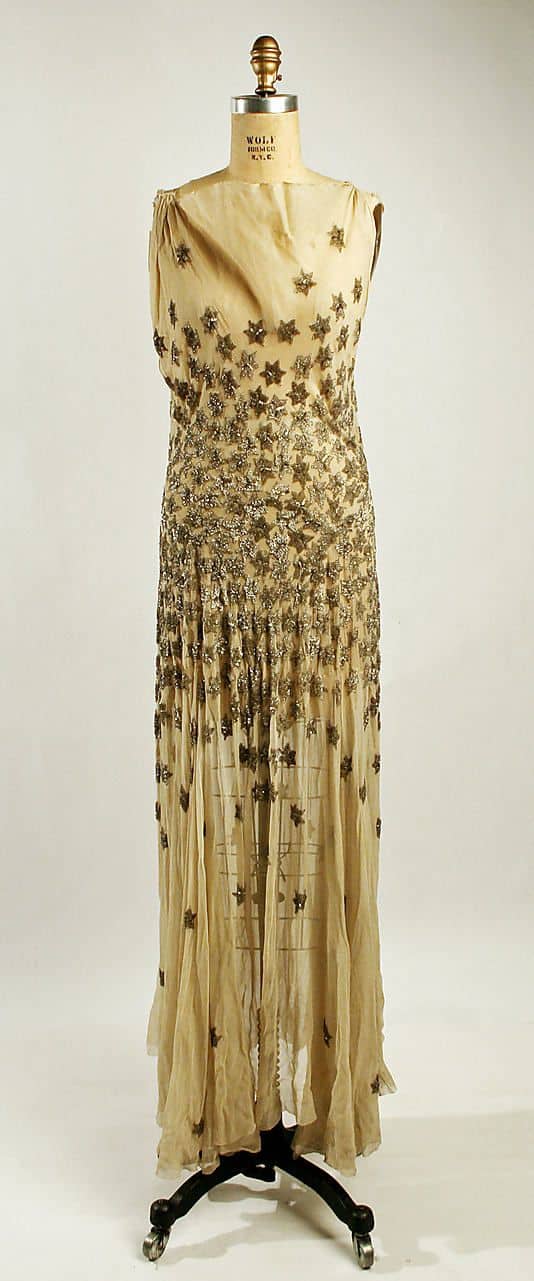
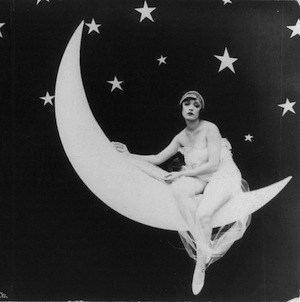
Vintage stars. If you know someone handy with a jigsaw perhaps the moon and star backdrop could be easily made and used for a photo booth.
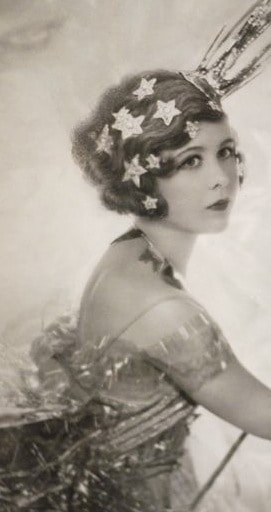
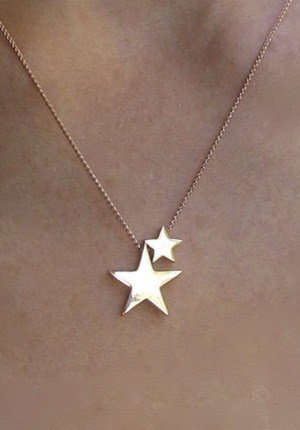
Etsy is a wonderful place to search for creative little star details in accessories and jewlery.
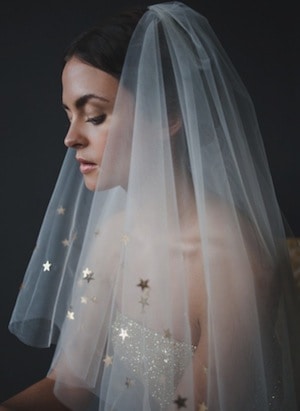
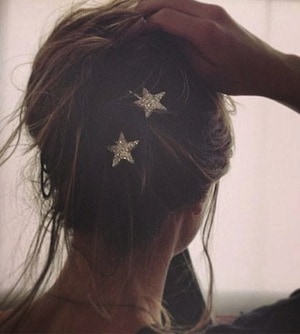
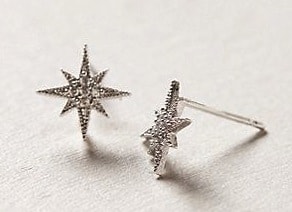
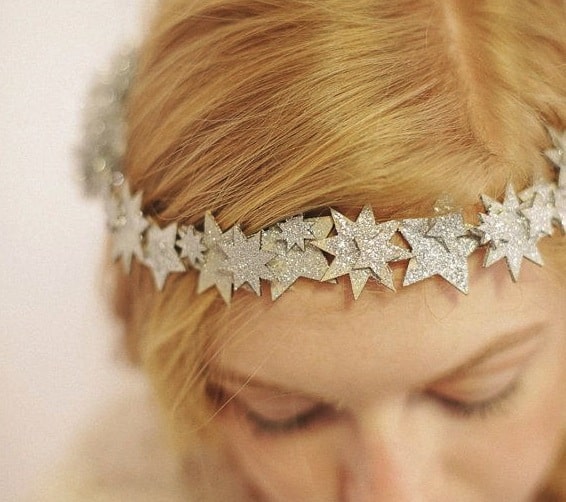
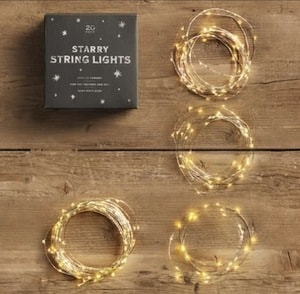
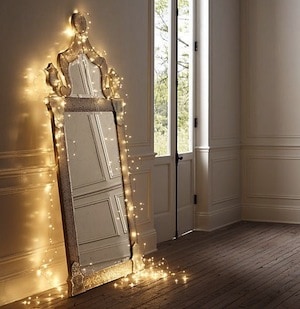
I have seen these starry string lights around on Pinterest but never anywhere for sale in australia. they seem to have much smaller bulbs than your average christmas might and also are on a wire that can be shaped and will stand on its own. Perhaps worth a search online.
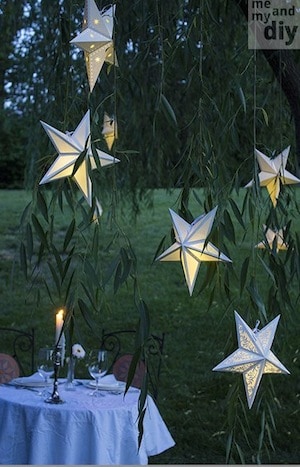
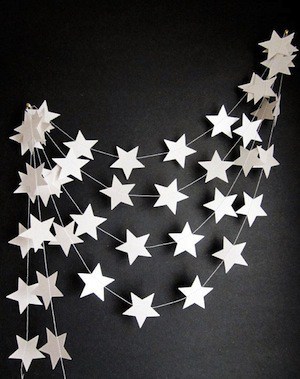
These lanterns were a diy made from an easily available pattern for a star lantern. The garland would be easily made from cut out stars, 2 stars stuck together with string in between.
Norman Hartnell sprinkeld the wedding gown of the then Princess Elizabeth and her bridesmaids with stars.
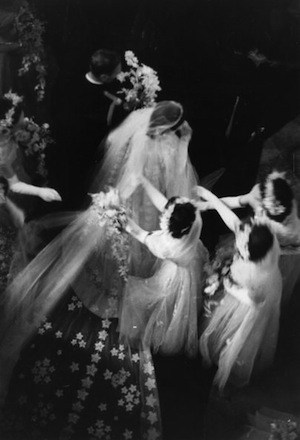
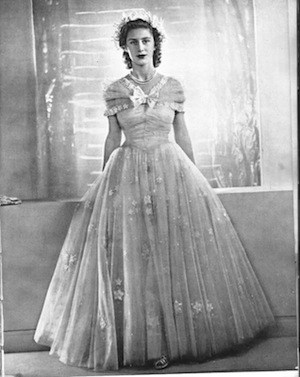
He must have loved them as he used them in a few more gowns.

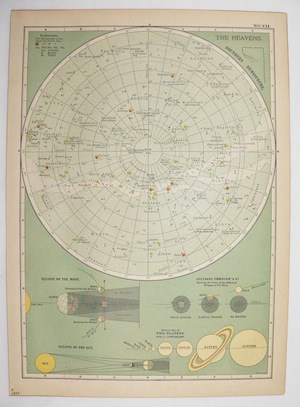
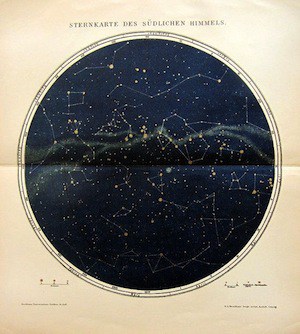
Invitations inspired by charts of the night sky.
Two of the icons of post war Haute Couture have to be the Venus and Junon gowns by Christian Dior. Both gowns are held at the Met museum (Venus. Junon) where they belong so they can be marvelled at into the future. I am staggered that there once was a time when women (undoubtedly wealthy women) would have somewhere to go that required a gown like this.
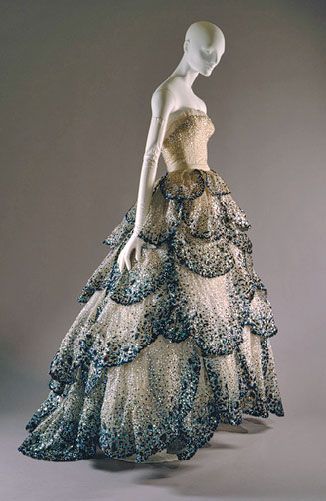
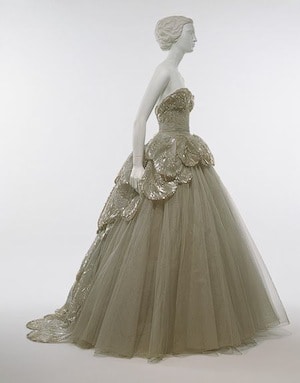
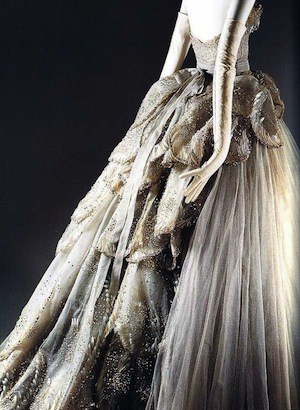
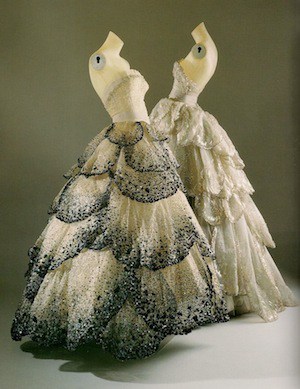
The sequins are applied to a mesh which would have been stretched onto a frame and the petals marked. The petals would only have been cut out after the embroidery was complete.
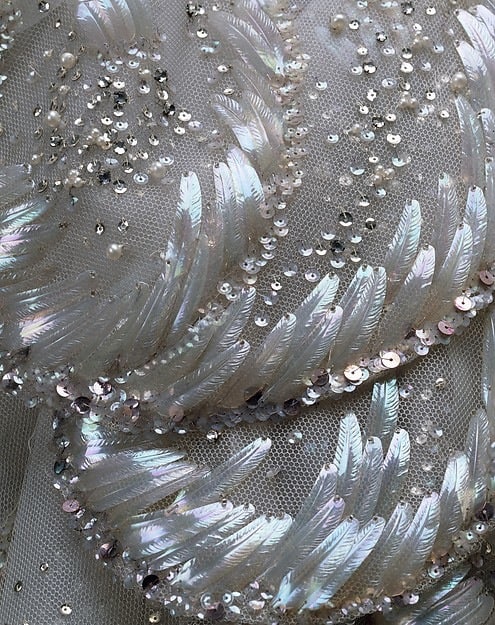
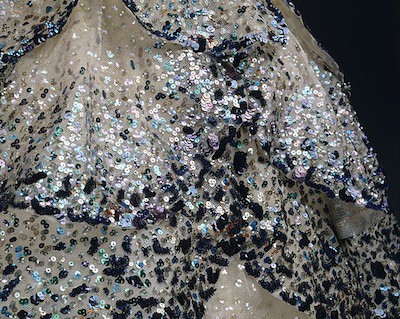
Here are some rare photos of these dresses on models.
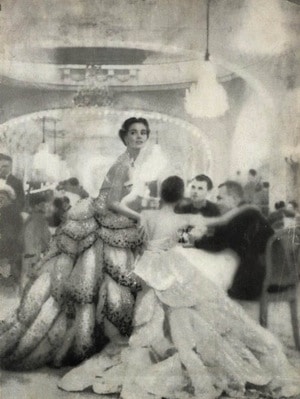
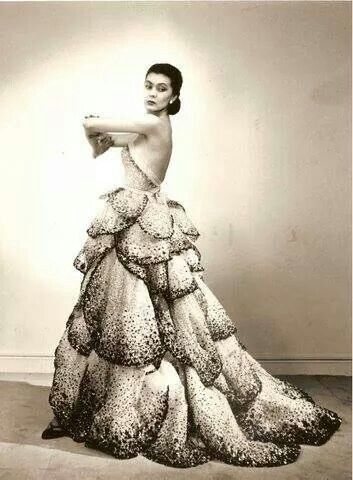
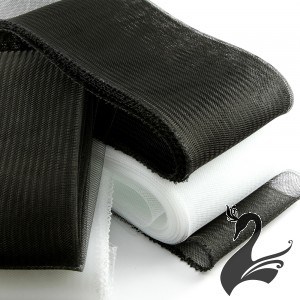
To create a wonderful curl at the hem of a skirt a woven trim can be used, Sometimes called Crinoline braid or horse hair braid. Originally woven from horse hair this trim has been used as a stiffener throughout victorian fashion. Developed in Synthetic materials it was used for hats in the 20’s and kept the skirts wide in the 50’s. The flexibility comes from the way it is woven in a strip so is technically on the bias, this allows it to be shaped through curls and circle skirts.
The width and weight can be selected depending on the application. Here is an example from the house of adorn.
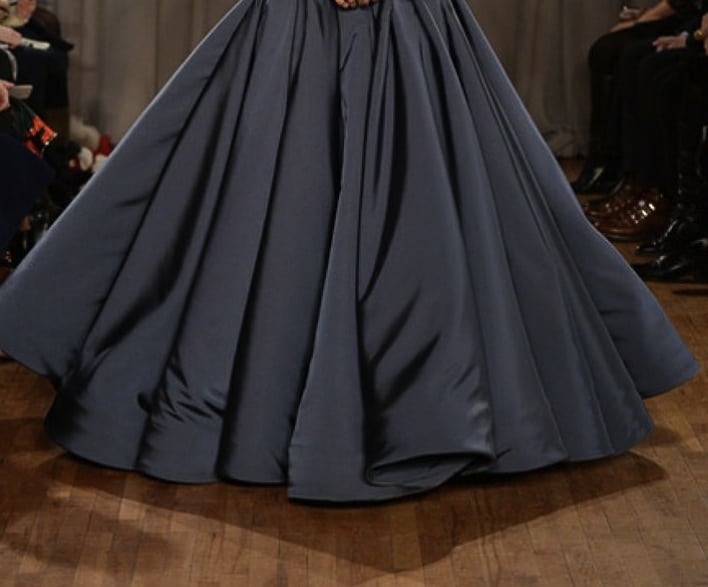
Below shows the braid used to emphasise the curl in a ruffle.
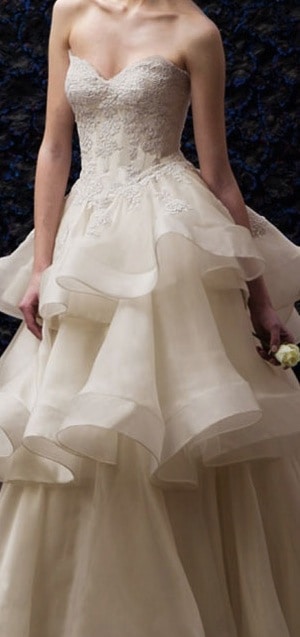
Here and the top image show a heavier version holding the shape in an amazing gown. Zac Posen uses this technique a lot.
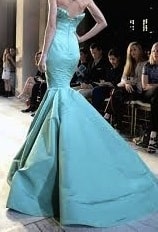
A more subtle example where the braid is used just to add some extra stiffness to a straighter hem. You can see a little line where the top edge of the braid is tacked inside the skirt. Without it this skirt would be falling closer to the legs and the fish tail would not be so exaggerated as it is.
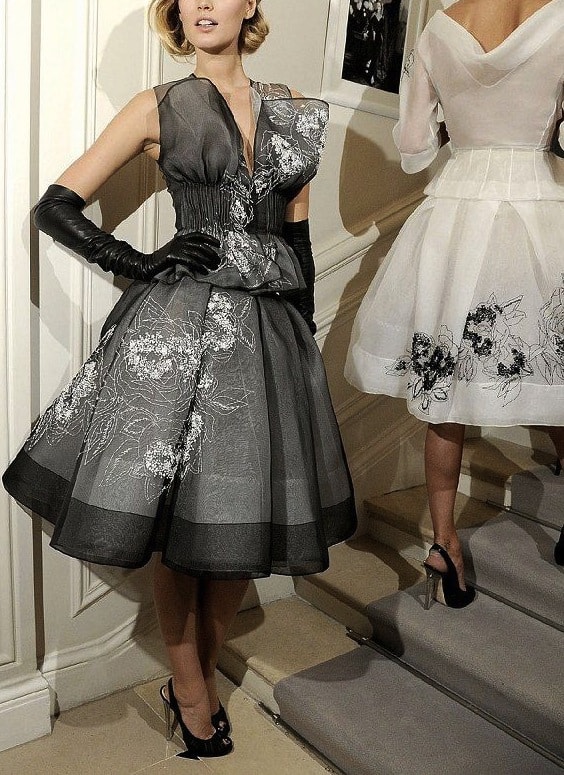
Here it is left visible as a contrast at the hem. Dior Haute Couture.
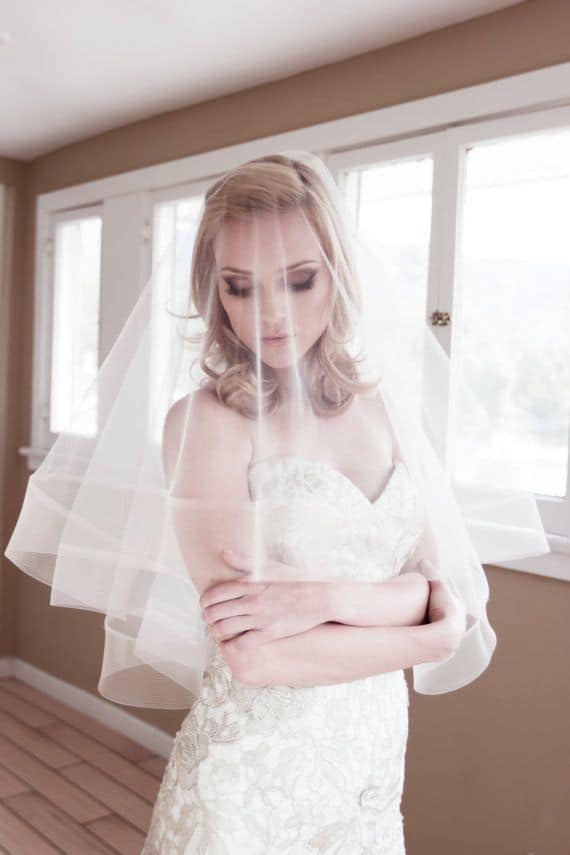
A fine strip of crinoline can be used to give the same curl to the edge of a veil.
A little discussion about tulle. The exact weaving technique is what defines tulle but the material it is made from makes it behave as if it was an unrelated fabric.
Silk tulle
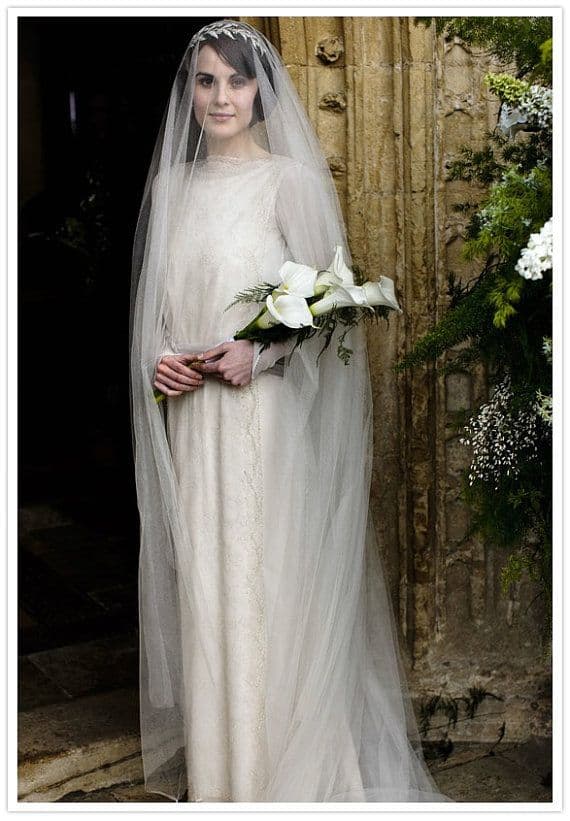
Bought back into the spotlight by Katherine middleton and worn perfectly. Silk tulle is made of the same technique as nylon tulle but it looks and feels completly different. It has more drape and inertia than nylon and depending on the quality can look a little more opaque.
Kate shows the way is falls straight down, looking lovely over the face. She also has a wide attachment around the whole front of her tiara. this holds the tulle open so its sheerness can be seen. A narrow atachment lets the tulle fall straight and none of its transparency can be seen. I personally think that the kate method is the only way to use silk tulle.
2 veils showing the fall of a silk tulle veil with a narrow base, lady Mary showing how seemingly silk tulle works best with tiaras.
Nylon Tulle
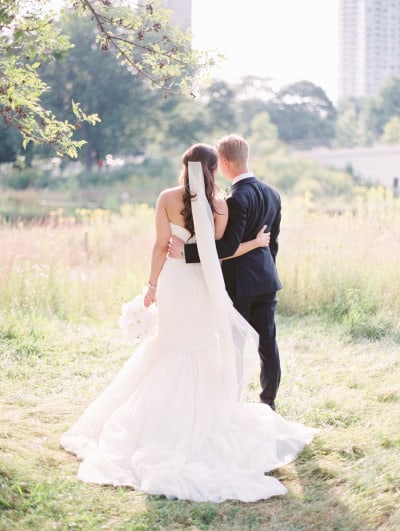
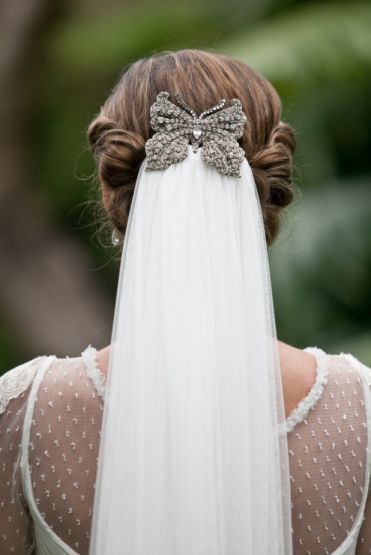
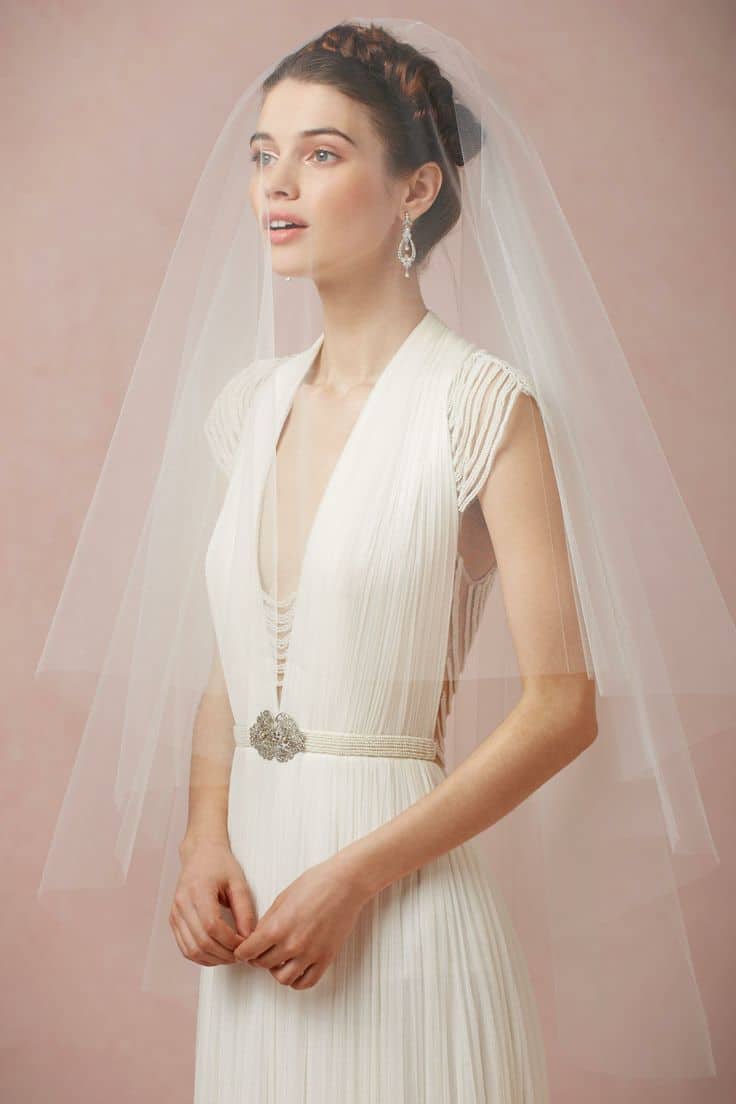
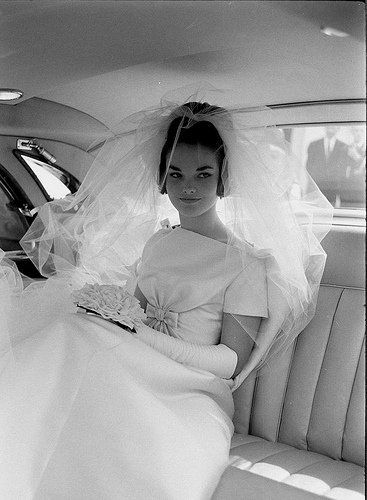
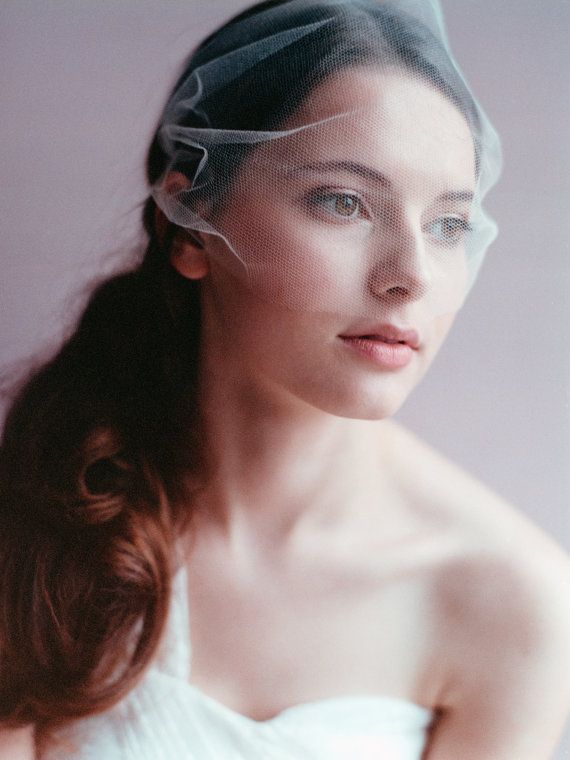
Normally my fibre snobbery would prevail and I would prefer silk fabric over a synthetic but not when it comes to veils. The threads the fabric is made of are much finer and lighter than silk so the tulle has a lightness and can be incredibly sheer. It also has some stiffness which holds it more open and allows the sheer layers to all be seen. It is also quite inexpensive and available everywhere. I have also seen it in more shades than silk which is usually only white and ivory if you are lucky. Nylon tulles come in white, ivory, The poorly named ‘nude’,champagne and almost caramel (as well as almost all bright colours if you want a coloured veil, I should make a post about coloured veils, against a white dress they are brilliant)
A simple light circle from bhldn (look at the distance from her shoulders the veil is sitting compared to lady Mary), A 60’s bride showing what is possible when you embrace the pouff, A tiny little blusher in an almost invisible whisp of tulle.
In most formal dresses I make there is a need for boning. Boning had a bad name from when it was over and poorly used in the classic off the shoulder 80’s bridesmaid dress. Here are the types of boning available as well as information on what they do and how I like to use them.
Starting from the subtle through to the serious
Woven plastic – This boning is made of strands of plastic wire woven together into a strip. It is the softest boning available and a wonderful way to keep lines smooth over the body and keep strapless tops from falling down. It is easy to use as you can sew straight through it between the plastic.
plastic – Spotlight/lincraft quality. This quality is great for a wear once only dress. It may have some issues but actually can be removed from its tubes and a fresh piece inserted if you want to wear the dress again.
Plastic – specialist online supplier quality. This boning is made of better quality plastic and also comes in more widths than the basic quality mentioned. The wider boning is useful for areas where more strength is needed.
When boning is used for cinching in a waist it needs to be good quality. The closure also needs to be considered. A tighter dress will be impossible to close with buttons. If you dont want lacing in the back of the dress I would make a lacing closure inside, this can be pulled tight to fit the dress and then buttons or a zip closes the outer layer over the top. One bride I did this for I could foresee some trouble untying after the wedding champagne so made sure they had some scissors and used a satin ribbon that could be easily cut and replaced.
Inside a Valentino dress showing boning in the bodice. This dress also has a tape at the waist and under the bust.
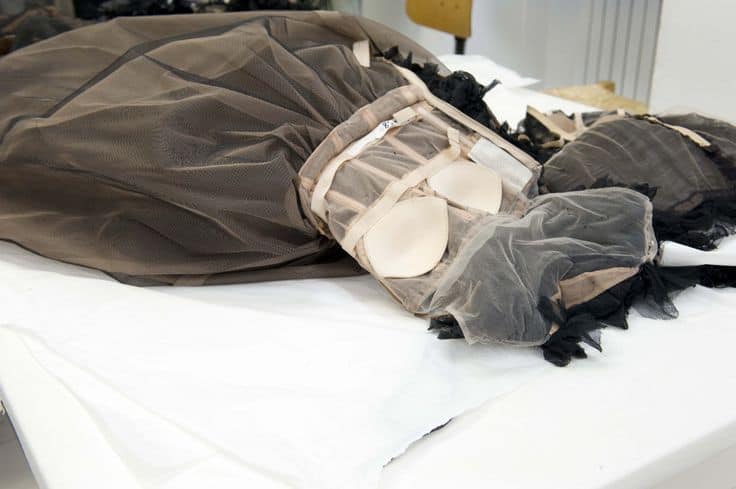
Some time the qualities are mixed and used where they are needed. Harder boning in the centre front and softer against the more flexible sides. Often boning will follow the seam lines and some time I like to use boning on an angle starting on the outside of the breast going down to meet its twin at the centre front. good to support a fuller bust and flatten a tummy. The lining and boning and outer dress can be joined as one piece or some times the lining and boning is like a little corset, attached only to the dress around the neck line. Below boning used on an angle and the inside of a Christian dior dress showing a lining that closes with hooks and the outer layer of the dress closes over the top
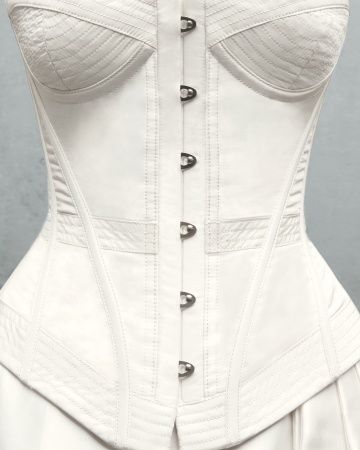
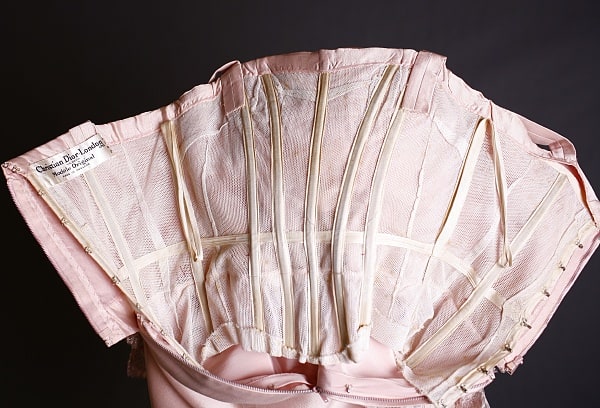
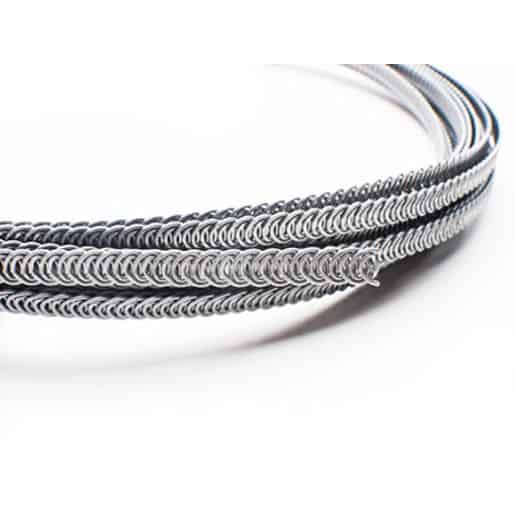
Spiral steel – This boning is usually used for corset making. Before using corset boning in a dress I would increase the amount of plastic boning and refine its position. If that wanst going to cut it then spiral steel is the next step. It is made from what looks like a spring of steel that has been flattened and is flexible both front to back and side to side. The curly endes are trimmed and capped with a little clip or rubber dipped so there is a nice smooth top.
Solid Steel – I must admit i haven’t used this type of boning myself although I am working on a pattern that will use them so I can test how they work. This kind of boning is only Flexible only front to back.
A boned corset in all its complicated and flossed glory.
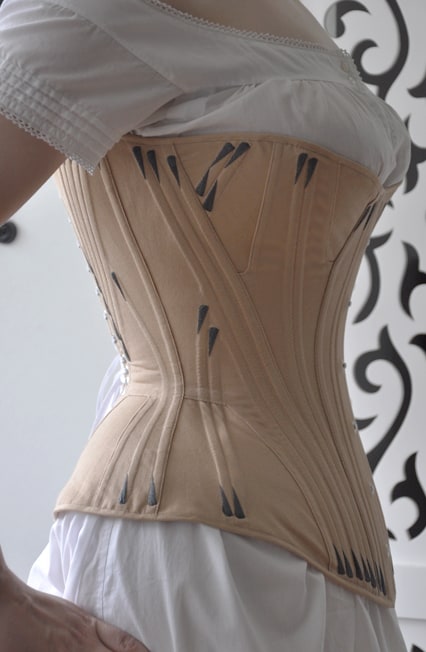
The bad reputation of boning I think comes from poor placement, Bones that are too long will dig in under arms and into hips. Types where the stitching isn’t through the boning need to be secured in place so they dont move up and down inside their channel (this lovely hand stitching seen in corsetry is called flossing and is an art form as well as a technical necessity) Boning quality also matters, if it is a bit weak it will ‘crack’ at the waist when it is bent, This will mean a crease will form in the bone that doesn’t dissapear so will stay pushing into you Craching can also be avoided by using a bone on an angle around curvy areas instead of straight up and down them.