Coffee bag Couture

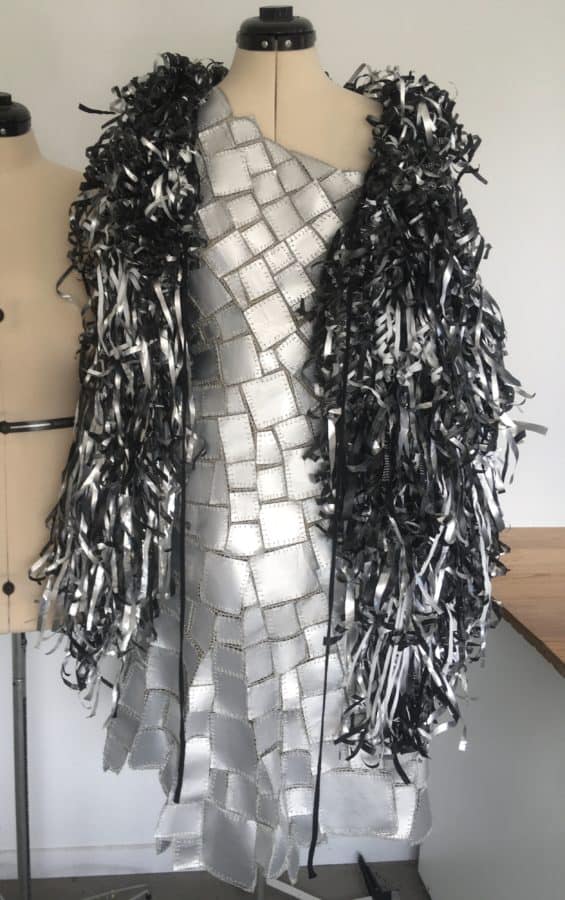
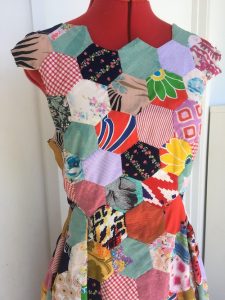
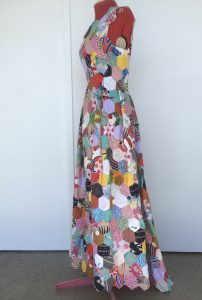
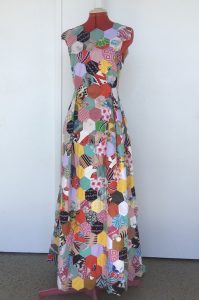
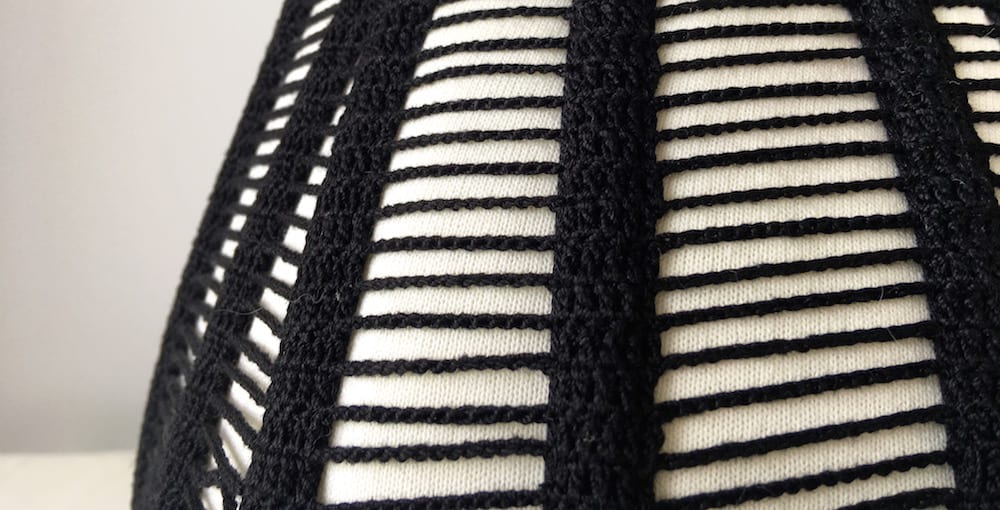
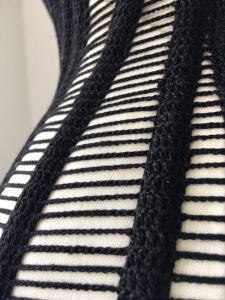
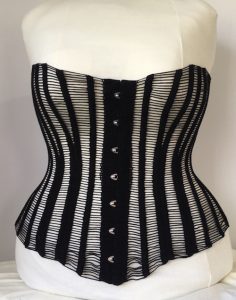
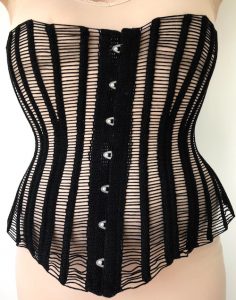
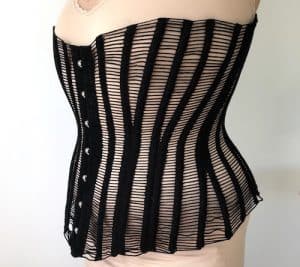
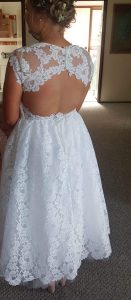
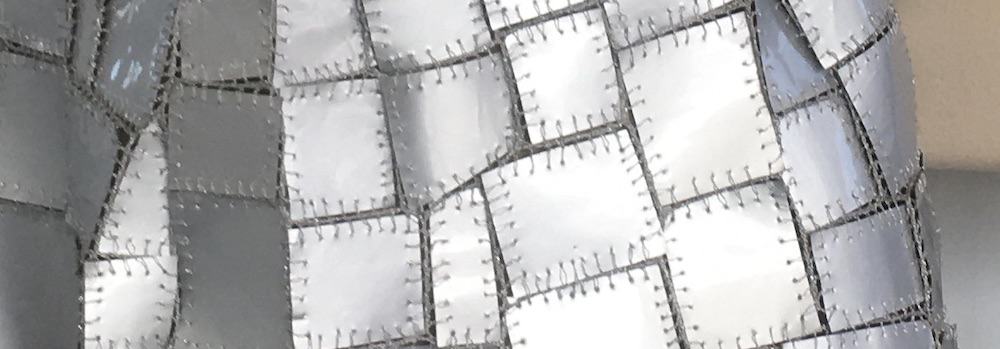
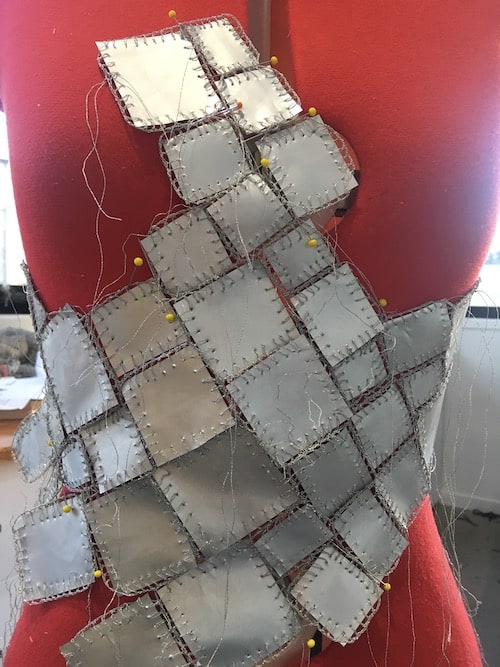
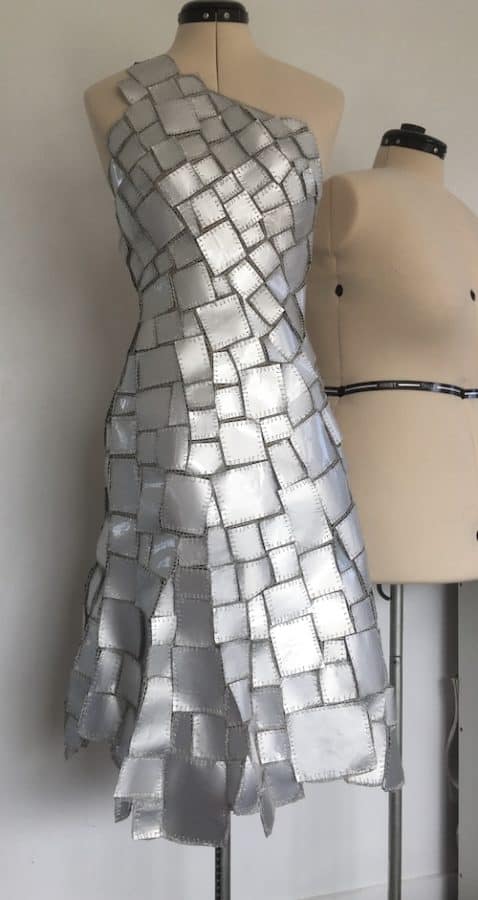
The theme for Breakfast at Tiffany’s in 2019 was based around recycling. This dress was made from the foil lined bags coffee beans come in (Thanks Oaklands for collecting them for me)

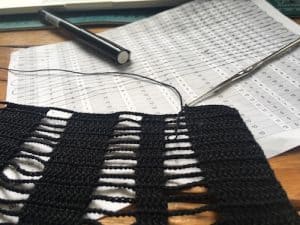
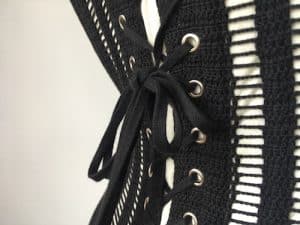
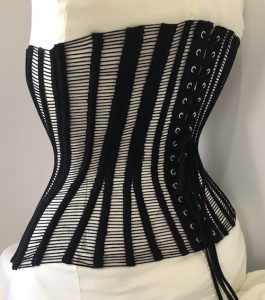
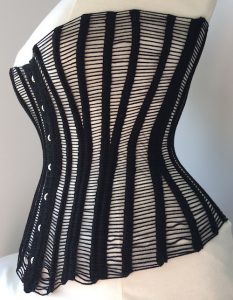
I cut the flat parts of the bags apart and then cut them into small squares. I punched holes around each piece and then added crochet stitches in silver thread. Sewing the crochet together made the dress flexible. Where I needed to shape around the body I cut a custom piece to fill the space.

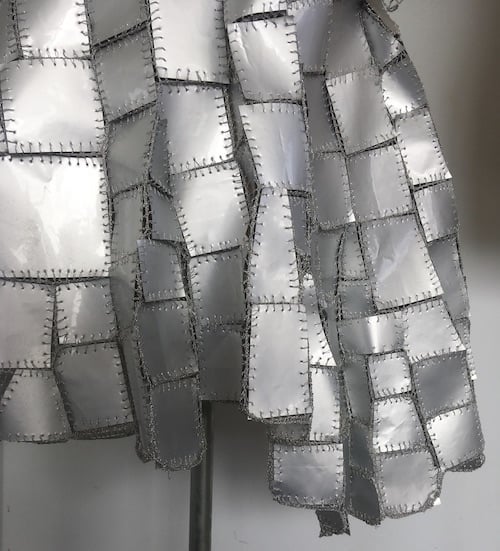
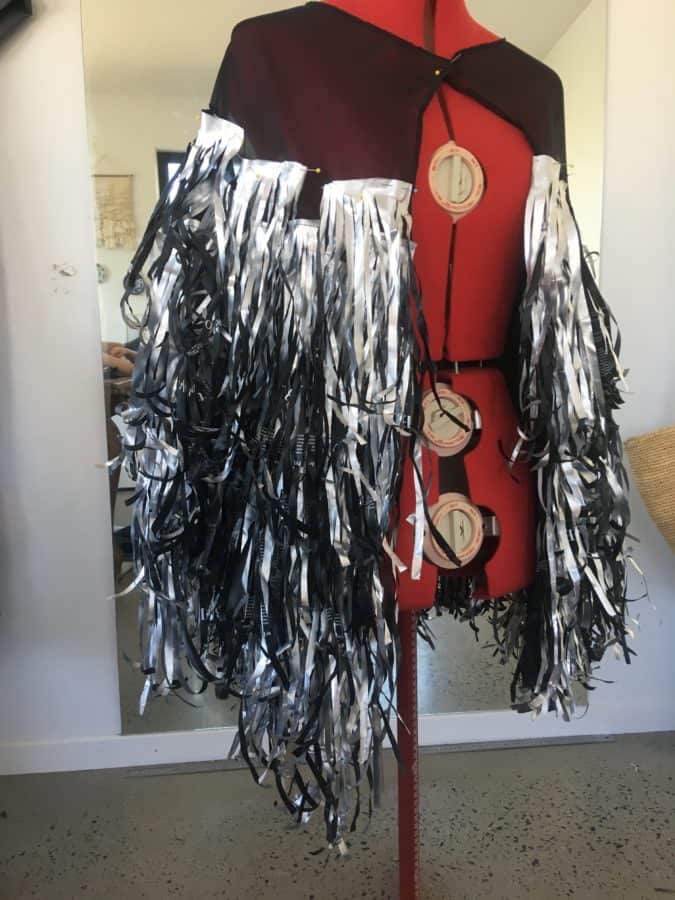
To go with the dress I made a cape of fringe. This was made from Mormors coffee bags as their supplier had a nice black outside and silver inside.

Op shop Wedding Dress

For Breakfast at Tiffany’s I challenged myself to make a “Wedding dress” out of only what I could get at the local op shops. I had seen dresses made of doilies and found them to be mostly horrendous so I had set myself a difficult task.

I used a mix of tablecloths, doilies, White business shirts, lace trim from tissue box covers, bed linen and lace from the sewing supply section. These came from Op shops from Pambula to Bega and every town in between.

Scrap Hexagon dress

Scraps of fabric take up a lot of space and I have never been sentimental enough to waste any of mine on a basket of scraps. I have however cut hexagons out of most of them and kept them for quilting.

For Breakfast at Tiffany’s this past year the theme was inspired by using recycled materials and I was inspired to see if could make them into a dress.

Hexagons like this always need to be sewn together by hand. Very time consuming but has the advantage of being portable so I can work on the couch.

I pieced the hexies together over my dress form set to the measurements of the model for the bodice. She came over for a fitting to refine the shape around the neck and arms. The skirt was one large rectangle draped into pleats at the front and joined at an angle at the back allowing the skirt to flare out more and create a little train.

Corset competition 2019

I hadn’t really planned on the Foundations Revealed corset competition entering this year. I spent a little too much money and time last year… I didn’t think of it again until mid year when I came across a little sketch on a scrap of paper.

The idea was a corset made of crochet. It was only a seed of an idea, unlikely to be simple and less likely to work. It did seem like it could easily fit into the Architecture theme so perhaps I could give it a go and see how it ended up. The completion offered a nice excuse and I decided to challenge myself in that however it turned out I would submit it.

I have always worked in crochet and have a lot of history making complex shapes I understand a fair bit about its capabilities. The chain stitches are actually quite rigid but the double crochet stitch making the channels has a bit of stretch. If the stretchy part of the crochet was put under tension by the boning then the resulting corset should be able to give a good shape.

The pattern was one taken from an image in the Symington collection, 1890s ish. Drafted up to my measurements and then made into a toile of cheap canvas and zip ties.

The second test was in Bobbinet, another material I hadn’t used before and wanted to test out. I made a few more adjustments to the pattern after making this version.

Once the pattern was ready I could proceed with the crochet.

I did some test swatches and decided on my thread and hook. This gave me a stitch gauge which I used to make custom graph paper exactly to scale, printed from excel. I then transferred the pattern pieces onto the graph paper. With a pen and a lot of time I drew each boning channel onto the paper, 5 stitches down the length of the piece where I wanted the channels to be.  The number of stitches between these channels was the count of the chain stitches needed between.

Most rows of crochet went end to end but to create some shaping along the top and bottom edge I used short rows (turn the work over and work back before the end)

Once this was done I realised I didn’t need cumbersome paper to work off, I made another spreadsheet and simply noted the counts. I could then print off 2 copies and cross off the stitches as I did them.

I had toyed with the idea of it would be possible to work the channels in crochet but on my test swatch the coutil channels sewn on looked great and held the crochet rigid. How to get the ends closed was a problem I would wait until the crochet was done to solve.

I ended up applying the channels up one side and folded under across the top and down the other side. Leaving the bottom edge open to place the bones and close with my edge stitching foot. The texture of the crochet hid all the detail of the stitching so I could stop and start like that without any change to the outside. The busk is hidden in coutil and sewn on. The eyelets were left as small holes in the crochet but I still backed them with coutil to hold the bones and prevent too much pressure on the crochet alone.

When all was done and I finally had a chance to get the corset on a dress form I realised that the technique worked brilliantly but I had some serious fit issues with the pattern. The bottom edge is too wide so the lines of the stitching are not nice and parallel like the lines around the waist and bust.  Another toile in fabric would have been a good idea to ensure I had made enough reduction around the front bottom edge. I do wonder however if this was in fabric would the same issue be quite so obvious?

The fit problems were worse when I tried it on myself. It was overall too large and even wider around the bottom edge. My plan to submit whatever the outcome was tempered a little with vanity as I have decided to use the dress form photos for my submission. I will include some of the photos on me below as following links is mostly for friends and fellow makers not the general public.


When I have some time I will try again. A shorter busk and revised bottom edge along with some changed to the top edge. I like the mid bust fit through the front but perhaps don’t need to raise the back as much.


Tutus available to purchase

In the lead up to christmas I am offering a small number of tutus to purchase in kids sizes.

These tutus are perfect for a budding dancer as well as for flower girls and dress ups.

I am offering in white and black only a ‘Romantic’ style and a ‘Plate’ style. All the measurements and prices are below.

Romantic tutu

Small (6-8 years 45cm long skirt) Medium (8-10 years 58cm long skirt) High stretch waist band with hook and loop closure with multiple rows of loops. 3 rows of gathered bridal tulle.

Price – $38.30

Plate tutu

Small (6-8 years or 68cm hip. Skirt 25cm long) Medium (8-10 years or 73cm hip. skirt 27cm long) Stretch fabric used for briefs but there is more rigidity around the hip where the tulle is applied. 7 rows of pleated tulle.

Price – $64.70

Special orders are possible, Adult sizes, Emma wiggle yellow ribbon appliqué or heavy duty construction for serious little dancers, get in touch for details.

To be ready early December I will need orders placed by Friday the 5th. Please feel free to contact me if you would like more information on sizing.

Before and after wedding dress

A recent lovely project has been to take apart and re-imagine a 70’s wedding dress for a modern bride. It was her mothers dress which has great sentimental  value in the family, a lovely addition to a wedding day.

The skirt was removed and kept almost complete except for a revision at the hem where I trimmed around the lace and stiffened the edge. I also added an underscore of bridal tulle.

The bodice and over jacket was taken apart and turned into a sweetheart neckline with sheer tulle straps that closed at the upper back leaving the lower back open. Motifs from the lace were trimmed out and hand applied to the tulle straps.